

Capturing unforgettable photos of Venice often feels challenging, even for seasoned photographers. The city’s winding canals, dramatic architecture, and shifting light can turn simple snapshots into stunning works of art—or leave you with flat, uninspired images. Knowing how to use soft golden hour lighting, frame your shots with reflections, or tap into the energy of city life is what sets great Venice photography apart.
This guide is packed with actionable techniques drawn from professional tips and the real-world experiences of artists working in Venice. You’ll get fast, usable advice on harnessing golden hour light, using leading lines and reflections, and finding the right camera settings to showcase Venice’s dramatic atmosphere. Every insight is designed to help you create images full of mood, depth, and authentic Venetian character.
Get ready to uncover practical secrets for transforming the way you photograph Venice. Each tip in the list will help you capture the city’s beauty in ways that stand out and tell a story.
Table of Contents
- 1. Mastering Golden Hour Lighting In Venice
- 2. Framing Venice With Leading Lines And Reflections
- 3. Capturing Venice’s Unique Water Perspectives
- 4. Incorporating Local Venetian Culture In Images
- 5. Using Shadows And Contrast For Dramatic Effect
- 6. Storytelling With People And Urban Scenes
- 7. Editing Venice Photos For Atmosphere And Mood
Quick Summary
| Takeaway | Explanation |
|---|---|
| 1. Utilize Golden Hour Effectively | Capture images 20-30 minutes before sunrise or sunset for warm, soft lighting that enhances Venice’s beauty. |
| 2. Identify and Use Leading Lines | Look for natural lines in Venice’s architecture to guide the viewer’s eye towards your subjects and create depth in your images. |
| 3. Incorporate Water Reflections | Use calm canal water for reflections to add layers and symmetry to compositions, effectively doubling the visual impact of your shots. |
| 4. Capture Venetian Culture Respectfully | Document local traditions and people with authenticity by building connections and timing your shots to reflect genuine moments. |
| 5. Edit for Mood and Atmosphere | Adjust color temperature, contrast, and saturation in post-processing to evoke the emotional essence of your Venetian experience. |
1. Mastering Golden Hour Lighting in Venice
Golden hour is when your camera becomes an artist’s brush, painting with light rather than pigment. This magical window that arrives shortly after sunrise and just before sunset transforms ordinary Venetian scenes into something that stops people mid-scroll on their phones.
Why does golden hour matter in Venice? The answer lies in how light behaves differently at this time. When the sun sits low on the horizon, its rays travel through more of the atmosphere, scattering the harsh blue wavelengths and leaving behind warm, honeyed tones that infuse your images with soul. The soft light reduces harsh shadows and contrast, which is particularly powerful in Venice where water reflections already create complex lighting situations. Unlike the flat, colorless light of midday, golden hour light wraps around buildings and bridges with an embrace that feels almost theatrical.
Venice rewards this timing more generously than most places. The city’s narrow canals and close architecture mean sunlight bounces and reflects off water surfaces, multiplying the warm glow and creating layers of illumination that extend the visual impact of golden hour light. The water itself becomes a mirror, doubling the effect of those warm hues and creating reflections that add dimension and narrative to your frames.
Here’s how to put this into practice. Begin by using a simple app or online tool to identify exactly when golden hour occurs on your chosen day in Venice. Arrive at your location 20 to 30 minutes before this window opens, giving yourself time to scout the light changes as they happen and position yourself strategically. Look for scenes where the low sun creates long, pronounced shadows that stretch across the water or facade of a palazzo. These shadows add texture and three-dimensionality that flat midday light simply cannot achieve.
Consider using the sun’s position creatively through backlighting, where you position your subject between the sun and your camera. This creates glowing edges and separation that make subjects pop against darker backgrounds. Alternatively, try side lighting where the sun rakes across subjects at an angle, revealing texture in weathered building facades or the gentle waves of canal water. Each approach transforms how viewers perceive depth and form in your images.
One practical consideration that photographers often overlook is manual camera settings. During golden hour, automatic exposure modes frequently underexpose your images because they misinterpret the bright sky. Switch to manual mode or use exposure compensation to capture the full warmth and richness of the light. Bracketing your exposures (taking multiple shots at different exposure levels) gives you options in post-processing, especially useful when navigating Venice’s complex lighting reflected off water.
Pro tip: Scout your composition and camera position during midday when you have maximum visibility, then return at golden hour already knowing exactly where to stand and what angle will work best for the light conditions you expect.
2. Framing Venice with Leading Lines and Reflections
Leading lines are the invisible threads that pull your viewer’s eye exactly where you want it to go. In Venice, these compositional tools transform ordinary canal scenes into images with purpose, depth, and undeniable visual magnetism.
Think of leading lines as a photographer’s secret weapon for storytelling. When you place a strong line in your composition, it acts as a visual pathway that guides the viewer’s gaze through your image toward your main subject. In Venice, you are surrounded by natural lines waiting to be discovered. Canal edges create horizontal lines that stretch into the distance. Bridges arch overhead with elegant curves. Building facades stack vertically, creating strong diagonal or vertical guides. These architectural elements are not merely background details; they are compositional gold that you can leverage to create frames within frames.
The magic happens when these leading lines meet Venice’s most defining feature: water. Reflections on the canal surface are not just beautiful; they are compositional multipliers. When you use leading lines to direct viewer attention effectively, reflections amplify this effect by creating symmetry and visual balance. A bridge reflected in calm water becomes two bridges, doubling the compositional impact. A building facade reflected below creates a sense of stability and harmony that draws the eye deeper into the frame.
Here is where the practical application comes into play. Start by walking through Venice’s narrow alleys and along the main canals with one specific goal: identify strong lines. Look for the edge where a building meets the water. Notice how a line of gondolas creates repetition and direction. Watch how a distant bridge frames other architectural elements. When you spot these lines, position yourself so they lead from the foreground directly toward your subject. This creates a sense of journey and purpose in your photograph.
Reflections deserve special attention in Venice. Unlike many cities, Venice offers an abundance of calm water that acts like nature’s own mirror. Use this to your advantage by composing images that include both the original subject and its reflection. The reflection should feel intentional, not accidental. Frame your shot so the waterline divides your composition in a way that feels balanced. Try placing the reflection in the lower half of your frame while keeping the original subject in the upper half. This creates visual layering that gives your images depth and sophistication.
Consider the framing technique as well, which works beautifully in tandem with leading lines. Look for natural frames within Venice’s architecture, like a doorway that opens onto a canal scene, or a narrow passage between buildings that frames a distant view. These frames naturally direct attention to your subject while adding context and storytelling. Your subject becomes enclosed, protected, and emphasized all at once.
One practical detail that separates strong compositions from mediocre ones is positioning. Do not simply stand where everyone else stands and take your shot. Move. Crouch down to make a low angle where the canal’s reflection becomes more prominent. Step back to include more architectural leading lines. Shift left or right to align a bridge perfectly with a building behind it. These small adjustments transform how leading lines function in your frame.
Pro tip: Scout your location during daylight and mentally identify three to four different leading line compositions at each spot, then return at golden hour when the light is most forgiving to execute each one with precision.
3. Capturing Venice’s Unique Water Perspectives
Water is Venice’s defining character, and mastering how to photograph it transforms your images from tourist snapshots into artistic statements. The canals are not merely background elements; they are active participants in every composition you create.
Venice’s relationship with water is unlike anywhere else on Earth. Water here acts as a giant reflector, softening harsh shadows and providing endless opportunities for reflections that add depth and visual interest to your photographs. When light hits water, it bounces and diffuses, creating a quality of illumination that flatters architecture and makes colors sing. But this same reflective quality creates challenges. Glare can overexpose your images, washing out detail and color. The moving surface of water caused by boats and wind can blur details you want sharp or create unwanted distractions in your frame.
Here is where technique becomes your greatest ally. A polarizing filter is perhaps the single most valuable accessory you can bring to Venice. This filter cuts through water glare by blocking certain light waves, allowing you to see beneath the surface reflections and reveal detail in the water that would otherwise disappear into blown-out brightness. The effect is dramatic. Colors become richer. Reflections become more pronounced. Details that seemed lost emerge with clarity.
Your choice of lens also matters significantly when capturing water perspectives. Wide-angle lenses allow you to include both architectural elements and their water reflections in a single frame, creating a sense of scale and floating grandeur. A wide lens lets you step back and capture the full drama of a palazzo rising from the water with its reflection spread below. Conversely, telephoto lenses compress perspective and emphasize reflections, making the doubled effect of buildings mirrored in water even more striking.
Shutter speed becomes a creative tool when photographing water. Fast shutter speeds (1/500th of a second or faster) freeze the motion of boats and ripples, capturing crisp water surfaces with sharp detail. Slow shutter speeds (several seconds or longer) transform moving water into silky, ethereal surfaces that look almost dreamlike. This long exposure technique works particularly well during golden hour or misty mornings when light is already soft and atmospheric. The smooth water created by longer exposure times emphasizes the peaceful, timeless quality that Venice evokes.
Timing your water photography with specific light conditions multiplies your success. Golden hour casts warm light that reflects beautifully off water, creating layers of color. The blue hour after sunset creates moody reflections that feel intimate and contemplative. Misty mornings soften everything and make water reflections feel more painterly than photographic. Each condition offers distinct advantages for different storytelling approaches.
Consider your vantage point carefully. A gondola ride offers perspectives you cannot access from bridges or alleys. Shooting from water level changes everything about how your subject relates to the frame and how reflections interact with your composition. However, shooting from bridges reveals historic palaces framed by water in ways that create stunning architectural narratives. Experiment with multiple perspectives from the same location. Shoot from bridge height, then crouch down near water level. Notice how dramatically the composition shifts and how reflections behave differently depending on your angle.
Composition matters immensely when water is your primary element. The waterline in your frame acts as a compositional horizon. Rather than placing it in the center, try positioning it off center to create visual interest and balance. If water and reflection are both essential to your image, divide your frame so each receives equal visual weight. If water is supporting detail, minimize its presence through composition that emphasizes the architectural subject above.
Pro tip: Bring a polarizing filter and test it at different angles by rotating it while looking through your viewfinder; you will quickly see how much control this single accessory gives you over water glare and reflection intensity.
4. Incorporating Local Venetian Culture in Images
Photographs that merely show Venice’s architecture miss the soul of the city entirely. Real Venice lives in the stories, traditions, and people who inhabit these ancient streets and waterways. Learning to capture authentic Venetian culture transforms your images from postcard replicas into meaningful documentation of a living, breathing civilization.
Why does cultural authenticity matter in your photography? Because Venice is not a museum frozen in time. It is a place where gondoliers still navigate their boats with practiced precision, where locals gather in hidden squares for morning espresso, where centuries-old traditions continue to shape daily life. When you photograph only the monuments and ignore the culture that animates them, you create a incomplete narrative. Your images become soulless architecture without context or meaning. But when you weave cultural elements into your compositions, you tell a fuller story that honors the place and its people.
Understanding Venetian customs and rhythms requires preparation before you arrive with your camera. Research local festivals, traditional practices, and the patterns of daily life. The Carnival of Venice returns each year with elaborate masks and costumes that represent centuries of tradition. Religious processions mark important dates. Market days follow predictable schedules. Local boat races showcase skills passed down through generations. When you understand these cultural touchstones, you know when and where to position yourself for authentic moments.
Respect is the foundation of cultural photography. This means asking permission before photographing people. It means understanding that some traditions are sacred or private, not meant for cameras. It means recognizing that you are a guest documenting another community’s life, not an outsider extracting images for your portfolio. When you approach people with genuine interest and courtesy, something shifts. They become collaborators rather than subjects. They share moments more freely. They invite you into spaces you would never have discovered alone. This approach yields photographs with depth and authenticity that forced or sneaky shots can never achieve.
Practically speaking, begin by identifying key cultural elements worth capturing. Traditional crafts like glassblowing on Murano or mask making in Venice’s ateliers show human skill and heritage. Street markets reveal how locals actually live, what they eat, how they interact with their environment. Gondolas and boatmen represent iconic Venetian identity. Elderly residents in traditional dress tell stories through their appearance. Religious art and architecture contain layers of cultural meaning. These subjects connect viewers emotionally to Venice beyond its physical beauty.
Timing your cultural photography matters significantly. Early mornings before tourist crowds arrive offer glimpses of authentic daily life. Local neighborhoods away from famous plazas reveal genuine community. Seasonal shifts bring different cultural activities. Visiting during actual festivals rather than touristy recreations shows real tradition. When you document local culture authentically, you observe patterns and rhythms that reveal when and where genuine moments unfold.
Composition when including cultural elements should feel intentional. If you are photographing a mask maker at work, frame the image to show both the artisan and their craft, emphasizing the relationship between maker and creation. If capturing a market scene, compose to show the abundance of the setting and the human interactions within it. Avoid reducing people to exotic props. Instead, compose images that celebrate their skill, their context, and their humanity.
Camera settings for cultural photography often require flexibility. You may need fast shutter speeds to capture candid moments in lower light interiors like workshops or markets. You may want to use wider apertures to isolate subjects from busy backgrounds while maintaining connection to their environment. Be prepared to shoot in available light rather than using flash, which can feel intrusive and confrontational. Your technical approach should support respectful documentation rather than aggressive extraction.
Pro tip: Spend your first hour in any cultural location observing without photographing; watch patterns, identify interesting moments, build relationships with people, and then return to capture images from a place of understanding rather than guessing.
5. Using Shadows and Contrast for Dramatic Effect
Shadows are not empty voids to be avoided or corrected. They are compositional tools that transform flat images into visually gripping narratives with depth, mystery, and emotional resonance. When you learn to harness shadows intentionally, your Venice photographs shift from pleasant to unforgettable.
Why do shadows matter so profoundly in photography? Because light without shadow is one dimensional. Imagine a photograph of a Venetian palazzo lit evenly by diffused light. It shows you the building’s form and color, but it feels lifeless. Now imagine the same palazzo at late afternoon with strong sidelighting that casts the building’s architectural details into sharp relief through deep shadows. Suddenly the texture of centuries old stone speaks to you. The arches seem to recess into mystery. The play of light and dark tells a story about time, age, and the passage of light across a facade. Shadow adds drama, context, and emotional weight that bright even lighting cannot provide.
Contrast works alongside shadow to create visual impact. High contrast images, where bright highlights sit next to deep shadows with little middle ground, feel bold and dramatic. Low contrast images feel soft, romantic, and peaceful. Venice offers abundant opportunities for both approaches. Your choice of when and how to photograph determines which you capture. Understanding how shadows create dramatic images helps you make intentional decisions rather than accepting whatever light conditions you find.
Timing is everything when working with shadows and contrast. Early morning light rakes across the city at a low angle, casting long shadows that emphasize texture and form. Late afternoon sunlight does the same, creating golden shadows that feel warm and inviting. Midday sun creates short, dark shadows directly beneath subjects, which generally feels less interesting. Overcast days eliminate shadows almost entirely, flattening your images. This means your photography schedule should revolve around these light conditions rather than visiting Venice whenever is convenient.
Practically speaking, position yourself so shadows fall across surfaces in meaningful ways. If you are photographing a building facade, stand so the sun creates shadow patterns that reveal architectural details like columns, arches, or carved ornamentation. If you are capturing a street scene, look for opportunities where shadows of nearby structures fall across figures or ground surfaces, creating layers and framing. These shadow shapes become compositional elements that guide the viewer’s eye and add visual intrigue.
Silhouettes represent one of the most powerful uses of shadow and contrast. When you position your subject between your camera and a bright light source, the subject becomes a dark shape against a luminous background. This technique works beautifully in Venice at sunset or sunrise when the sun reflects off water, creating brilliant backlighting. A gondolier becomes an iconic silhouette. A bell tower transforms into a graphic shape. Figures on a bridge become abstract forms. Silhouettes remove distracting detail and reduce subjects to their essential shapes, which often feels more artistically compelling than showing all detail.
Your exposure choices directly impact shadows and contrast in your final image. Exposing for highlights preserves detail in bright areas but pushes shadows into deep black. This creates high contrast and dramatic mood. Exposing for shadows reveals detail in dark areas but may blow out highlights. This creates lower contrast and softer mood. Learning to expose intentionally, often using your camera’s spot metering mode to meter off specific tones, gives you control over how shadows and highlights behave in your final image.
Consider using side lighting as your primary shadow strategy. Position yourself so light hits your subject from the side rather than from the front or behind. This raking light creates pronounced shadows that emphasize texture and form while still revealing your subject’s detail. Side lighting also creates what photographers call “separation,” where your lit subject stands apart from darker background shadows, making it pop off the page with visual impact.
Pro tip: When you find a compelling scene, photograph it multiple times from different angles relative to the sun; side lighting, backlighting, and front lighting will each create completely different shadow patterns and emotional impacts from the identical location.
6. Storytelling with People and Urban Scenes
Architecture tells one story. People tell another. When you weave them together, you create photographs that resonate far beyond the visual into something deeply human and universally relatable. Venice without its people is just old buildings. Venice with authentic human moments becomes a living narrative.
Why does storytelling matter more than technical perfection in photography? Because perfect exposures and sharp focus fade from memory within hours. But a photograph that captures a genuine moment, a real emotion, or an authentic interaction stays with viewers. It makes them feel something. It makes them curious about the person or moment captured. It transcends the role of decoration and becomes a window into another person’s life or world.
Storytelling in Venice’s urban environment means training yourself to see beyond surface beauty. You must develop what photographers call a “keen eye” for moments that reveal character, emotion, or narrative complexity. This requires patience and observation. It means standing in one location for an extended time, watching how light changes, how people move, what interactions unfold. Most beginners photograph reactively, capturing whatever is in front of them at the moment they raise their camera. Storytellers photograph proactively, anticipating moments before they happen based on careful observation of patterns and human behavior.
Character is the foundation of urban storytelling. Look for distinctive individuals whose appearance, body language, or actions suggest a story. An elderly Venetian sitting alone on a bench. A vendor arranging flowers with meticulous care. A child chasing pigeons with uninhibited joy. A couple arguing passionately. These characters become the protagonists of your visual narratives. The key is capturing them in moments where their body language, expression, or interaction reveals something authentic about their experience or personality.
Setting provides context that transforms a simple portrait into a story. When you photograph someone within their environment rather than isolating them against a neutral background, you communicate information about their life, work, culture, or social position. A gondolier surrounded by boats and water channels tells a different story than the same person photographed against a blank wall. A fishmonger framed by their market stall tells a story about livelihood and tradition. Your urban setting is not background; it is a character in the story itself.
Moment and timing separate documentary images from storytelling images. Any snapshot can show two people standing together. But a photograph capturing the split second when their eyes meet, when one person reaches toward the other, when genuine emotion crosses their faces transforms the image from documentation into narrative. This is where street photography storytelling techniques become essential. Anticipation means predicting where action will unfold and positioning yourself ready before the moment arrives. Presence means being deeply aware of your surroundings and noticing the micro moments that reveal authentic human experience. Documentary approach means avoiding interference or direction, letting life unfold naturally in front of your camera.
Composition plays a supporting role in storytelling. Your framing should guide viewers to understand what matters in the narrative. If the story is about a person’s relationship with their environment, compose to show both figure and setting in balanced measure. If the story is about a moment of emotion or connection, compose to emphasize the human element while keeping environment as context. Use leading lines, framing, and depth of field to direct attention toward the emotional or narrative core of your image.
Candid versus posed represents a crucial decision in people photography storytelling. Candid moments feel authentic and real. People unaware of your camera reveal genuine expressions and natural body language. However, some of the most powerful storytelling photographs result from conversations where you explain what you are doing and ask people to simply be themselves while you photograph. This approach, sometimes called “observed portraiture,” combines the authenticity of candid work with the intention and presence of portraiture. People often feel more comfortable, more open, and more themselves when they understand you are creating something meaningful rather than stealing moments.
Patience becomes your greatest technical tool when storytelling with people. Spend time in locations. Build relationships with people you encounter repeatedly. Return to the same places and recognize returning characters. This accumulated familiarity allows you to anticipate moments, understand context, and capture images with genuine depth rather than surface-level documentation. The best street and urban photography often comes from photographers who know their neighborhoods intimately and work there consistently over months or years.
Pro tip: Choose one location in Venice and return to it at the same time each day for one week, learning the rhythms and recurring characters until you can anticipate moments before they unfold rather than just reacting when you see them.
7. Editing Venice Photos for Atmosphere and Mood
Your camera captures what exists in front of the lens, but editing reveals what you felt in that moment. The difference between a technically correct photograph and one that transports viewers into Venice’s enchanting atmosphere lives in thoughtful post-processing decisions. Editing is not about creating false realities; it is about honoring the emotional truth of your experience.
Why does editing matter for Venice photography specifically? Because Venice’s magic exists in subtle qualities that standard camera settings often fail to fully capture. The warmth of golden hour light, the dreamlike quality of mist rising from canals, the romantic mystery of blue hour darkness, the ethereal glow of reflections on water. These atmospheric qualities require post-processing adjustments to translate your emotional experience into visual form that viewers can feel.
Mood is the emotional response your photograph evokes. A photograph of the same canal can feel warm, inviting, and nostalgic through one editing approach, or cool, mysterious, and melancholic through another. These different moods come from how you adjust color temperature, contrast, saturation, and tone in post-processing. Your editing decisions communicate directly to viewers what you want them to feel when they see your image.
Color temperature is perhaps the most powerful editing tool for establishing mood. Warm color casts evoke feelings of comfort, nostalgia, romance, and coziness. When you add warmth to Venice photos from golden hour, you amplify the romantic essence of the moment. Cool color casts evoke mystery, melancholy, tranquility, and introspection. When you add cool tones to blue hour images, you deepen the sense of quiet beauty and timelessness. Many editing programs allow you to adjust color temperature using tools like white balance sliders, color grading wheels, or specific warm or cool presets. Start by observing how your raw file looks, then shift the color temperature in the direction that matches your emotional intent.
Contrast adjustments enhance atmospheric drama. Increasing contrast makes highlights brighter and shadows darker, creating visual punch and emphasizing separation between elements. This approach works beautifully for images with strong leading lines or architectural details. Decreasing contrast softens the image, reducing the visual difference between light and dark areas. This approach enhances the romantic, dreamy quality that Venice naturally possesses. Finding the right balance means considering what story you want to tell. An image of a shadowy alley becomes more mysterious with higher contrast. An image of misty canals becomes more ethereal with lower contrast.
Shadows and highlights represent separate editing tools that give you fine grained control over specific tonal ranges. Lifting shadows (making dark areas lighter) reveals detail in shadowed areas and softens the overall mood. This technique works wonderfully for images shot during golden hour where strong shadows create drama but also hide interesting detail in buildings or water. Pulling down highlights (making bright areas darker) prevents overexposure and adds richness to bright areas. When you adjust shadows and highlights to accentuate architectural details, you enhance the dimensional quality that makes Venice’s architecture feel tangible and real.
Saturation controls the intensity of colors in your image. Increasing saturation makes colors more vivid and punchy. Decreasing saturation creates a more muted, vintage, or timeless feeling. Venice benefits from subtle saturation adjustments rather than extreme ones. A slight reduction in saturation combined with a slight warm color shift can create that timeless, romantic quality Venice evokes. However, maintaining color authenticity matters. Oversaturated images feel artificial. Undersaturated images feel lifeless. The goal is enhancement, not transformation into something unrecognizable.
Vibrance offers a gentler alternative to saturation. Rather than affecting all colors equally, vibrance primarily boosts colors that are already present in the image while leaving skin tones and neutral colors relatively unchanged. This means you can add color intensity to a sunset or the blue of canal water without making everything look oversaturated or artificial.
Local adjustments allow you to apply edits to specific areas rather than the entire image. Perhaps your image has a beautiful reflected palazzo in the water but a flat, uninteresting sky. You can selectively brighten or add warmth to the water reflection while adding drama to the sky. This technique requires tools like adjustment brushes or layer masks in programs like Lightroom or Photoshop. The subtlety of local adjustments elevates your images from simple global edits to nuanced, sophisticated final pieces.
Clarity and texture adjustments add punch and dimensionality. Increasing clarity enhances local contrast, making textures in weathered stone, rippled water, and aged facades pop visually. This works beautifully for architectural details. However, too much clarity can create an unnatural, over processed look. Texture adjustments operate similarly to clarity but with more refined control. These tools help you emphasize the physical reality and age of Venice, inviting viewers to imagine touching ancient surfaces.
Remember that subtlety serves atmosphere better than extremes. The most powerful edits often go unnoticed because they feel natural and inevitable. Viewers should feel the mood without consciously thinking about how the editing was done. Begin your editing sessions by setting a clear intention about what mood you want to create, then make incremental adjustments that support that goal rather than applying heavy handed changes across every slider.
Pro tip: Create different editing presets for different times of day (warm golden hour preset, cool blue hour preset, misty morning preset) so you have consistent starting points that match Venice’s natural lighting conditions rather than starting from zero with every image.
Below is a comprehensive table summarizing strategies and techniques for enhancing photography in Venice as discussed in the article.
| Topic | Details | Key Takeaways |
|---|---|---|
| Golden Hour Photography | Utilize the soft, warm light shortly after sunrise or before sunset for unique, atmospheric images. Arrive early, position strategically, and consider manual settings for best results. | Ideal for creating warm tones, reducing contrast, and enhancing depth. |
| Leading Lines and Reflections | Investigate Venice’s architectural features and reflections to lead viewers’ eyes and add composition depth. Use natural leading lines and water reflections creatively. | Improves visual storytelling and creates engaging compositions. |
| Water Perspectives | Incorporate water as an active participant by using filters, varied angles, and responding to lighting conditions. Wide-angle lenses are effective for prominent reflections. | Enhances depth through vivid reflections and unique viewpoints. |
| Cultural Integration | Capture cultural elements by researching and respectfully documenting Venetian life and traditions. Scout and observe prior to photography. | Provides authenticity and context, augmenting the emotional connection of your images. |
| Shadows and Contrast | Embrace and manipulate shadows and contrast for drama and depth. Time and position are key for using natural light effectively. | Adds dimension and visual intrigue to images, making them more dynamic. |
| Storytelling Design | Use elements of people and scenes to tell compelling narratives. Focus on capturing moments and weaving architecture and character into cohesive stories. | Elevates images from static visuals to engaging narratives. |
| Photo Editing | Edit photos thoughtfully to convey mood and atmosphere. Use tools to enhance lighting, colors, and textures, tailoring settings to each scene’s needs. | Amplifies visual emotion and the atmospheric quality of images. |
Elevate Your Venice Photography with Expert Guidance
Struggling to capture the unique light and authentic culture of Venice as described in our “7 Essential Venice Photography Techniques for Beginners”? From mastering golden hour lighting to weaving storytelling with urban scenes, the challenges of using manual settings, controlling reflections, and composing with shadows can feel overwhelming when exploring alone. You deserve more than just technical tips; you need immersive experiences that inspire creativity and help you see Venice through the eyes of a professional photographer.
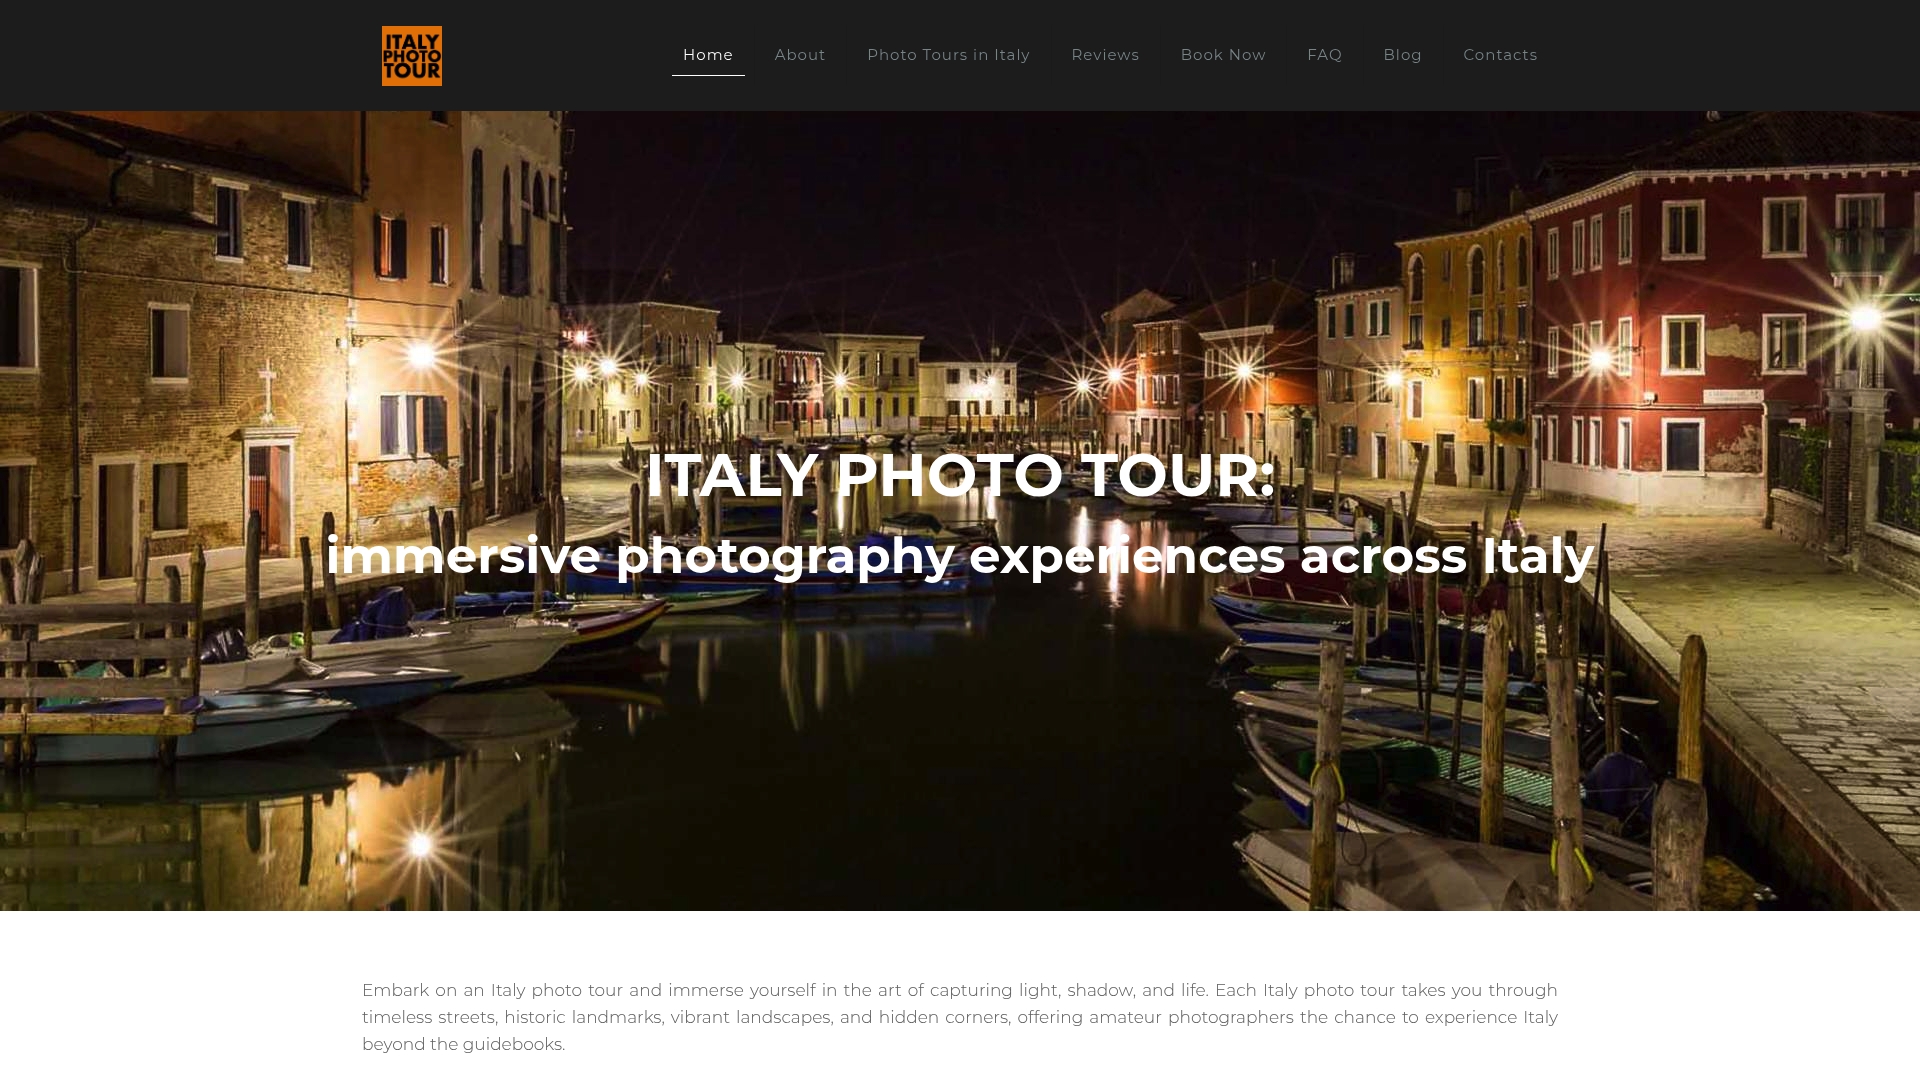
Join Italy Photo Tour to transform your Venice photography journey. Led by acclaimed photographer Mino Di Vita, our personalized guided tours not only teach you how to frame with leading lines or use natural light effectively but also connect you to local culture and atmospheric moments that elevate your art. Don’t just take photos. Create meaningful stories in iconic Venetian settings with expert support every step of the way. Start turning your vision into unforgettable images today by visiting Italy Photo Tour and explore a selection of immersive photography tours tailored to refine your skills and deepen your artistic connection with Italy’s timeless beauty.
Frequently Asked Questions
How can I make the most out of golden hour lighting in Venice?
To capitalize on golden hour lighting, plan to shoot 20 to 30 minutes before sunrise or sunset. Arrive early to scout the location and observe how the changing light interacts with the water and architecture around you.
What are some tips for using leading lines in my Venice photography?
To effectively use leading lines, look for elements like canal edges, bridges, and building facades that guide the viewer’s eye. Position yourself so these lines lead directly toward your main subject, creating a cohesive composition.
How can I capture the unique reflections on the canals?
Focus on including both the original subject and its reflection in your frame for added depth and interest. Experiment with different angles and compositions, ensuring the waterline divides your image in a balanced way.
What camera settings should I adjust for nighttime photography in Venice?
Begin by using a wider aperture to allow more light in and set a slower shutter speed to capture enough detail. Start with a shutter speed of around 1/60th of a second and adjust based on the available light conditions to prevent underexposure.
How do I incorporate local culture into my Venice photos?
Respectfully engage with locals and seek permission before photographing them. Look for genuine cultural moments, such as traditional crafts or street markets, and aim to connect your subjects with their environment to tell a richer story.
What editing techniques can enhance the mood of my Venice images?
Consider adjusting the color temperature to evoke the desired mood, such as warming images from golden hour for a nostalgic feel. Focus on subtle contrast adjustments to enhance details in shadows and highlights without over-editing.