

TL;DR:
- Atmosphere in photography creates mood, depth, and emotional tone through environmental light, color, and contrast shifts. Understanding atmospheric perspective and physics, such as Rayleigh scattering and dispersion, allows photographers to enhance storytelling and compose with intentional atmospheric layers. Patience and proper technique are essential, as atmospheric conditions are fleeting but uniquely impactful for compelling images.
Atmosphere in photography is defined as the mood, spatial depth, and emotional tone created by environmental conditions that alter how light, color, and contrast appear across a scene. Every photographer who has stood before a fog-draped Tuscan valley or watched Venice dissolve into a golden haze at dusk has felt this force at work. The role of atmosphere in images goes far beyond weather. It is the invisible hand that shapes perception, guides the eye, and transforms a technically correct photograph into something that resonates long after the shutter closes. Understanding atmospheric perspective, the science of light scattering, and the practical techniques for working with or against these conditions gives you a creative vocabulary that most photographers never fully develop.
What visual effects does atmosphere create in images?
Atmospheric perspective creates depth by reducing contrast, saturation, and detail in distant objects due to light scattering in the air. This is the foundational visual principle that painters from Leonardo da Vinci to J.M.W. Turner exploited long before photography existed. As distance increases, contrast decreases, internal details become less distinct, and colors shift toward a bluish background hue. The result is a layered, three-dimensional illusion on a flat surface.
For photographers, this means the impact of atmosphere on visuals is not passive. It is a compositional tool. When you place a sharp, richly colored foreground subject against a soft, desaturated background, you are using atmospheric recession to direct the viewer’s gaze. The visual layering technique/05%3A_Atmospheric_Perspective/5.04%3A_Visual_Characteristics_of_Atmospheric_Perspective) involves treating foreground, midground, and background as distinct design layers, each with specific contrast and saturation values that guide viewer perception of depth.
The color shifts themselves carry emotional weight. Morning mist tends to render distant hills in cool, silvery blues that evoke stillness and solitude. Late afternoon haze in the Cinque Terre wraps the terraced cliffs in warm amber, suggesting warmth and nostalgia. These are not accidents. They are the atmosphere painting with physics.
Here is what atmospheric perspective does to your image, layer by layer:
- Foreground: High contrast, rich saturation, sharp edges, full detail. This is where the eye anchors.
- Midground: Moderate contrast reduction, slight color shift toward the ambient hue, softer edges. This is the transition zone.
- Background: Low contrast, strong desaturation, colors shift decisively toward blue or warm haze depending on light angle, shapes simplify into silhouettes.
Pro Tip: When shooting in Tuscany or along the Amalfi Coast, position yourself so that at least three distinct tonal layers are visible from foreground to horizon. Even a subtle haze between those layers will read as depth in the final image.
What physical processes cause atmospheric color shifts?
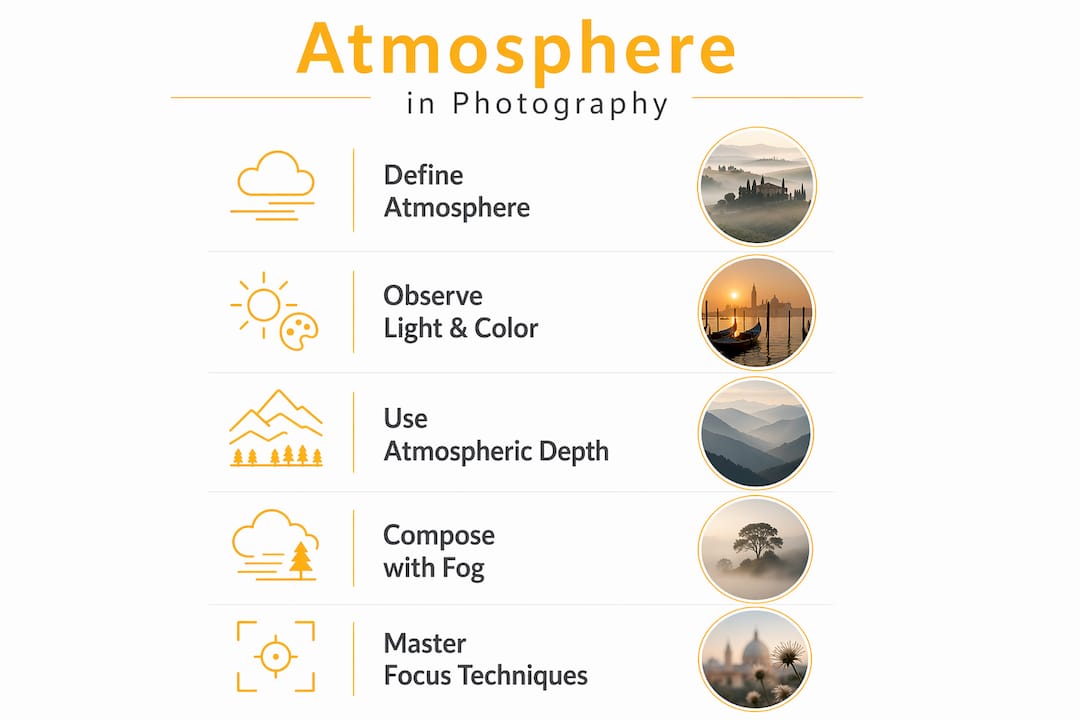
The science behind how atmosphere enhances images is rooted in a phenomenon called Rayleigh scattering. Blue light scatters more than red because scattering intensity depends on wavelength to the fourth power. Shorter wavelengths like blue scatter in all directions, which is why the sky appears blue and why distant objects take on that characteristic cool cast. This is not a subtle effect. It is the dominant force shaping color in any outdoor image.
The story changes dramatically at sunrise and sunset. When the sun sits near the horizon, its light travels through a far thicker slice of atmosphere before reaching your lens. Longer optical paths scatter away almost all the blue and green wavelengths, leaving the longer red and orange wavelengths to dominate. This is why the golden hour in Milan or the Sicilian coast feels so cinematically warm. It is physics made visible.
Beyond scattering, there is a second process worth understanding: atmospheric dispersion. Different wavelengths refract unequally as they pass through the atmosphere, which spreads colors and can blur images near the horizon. This effect worsens at large zenith angles, meaning the lower your subject sits in the frame relative to the horizon, the more color fringing and softness you may encounter.
The four key physical processes shaping atmospheric effects in photography are:
- Rayleigh scattering: Preferential scattering of short wavelengths causes blue skies and cool distant tones.
- Wavelength-dependent absorption: Certain gases and particles absorb specific colors, shifting the overall palette.
- Atmospheric dispersion: Unequal refraction of wavelengths creates color fringing near the horizon.
- Particle scattering from moisture, smoke, and dust: Fog, haze, and smoke scatter light more uniformly, softening contrast and creating that milky, diffused quality.
“Time of day and air conditions are not just technical variables. They are compositional tools that influence color mood and storytelling through atmospheric effects.” — NASA PACE
Understanding these processes means you stop reacting to light and start anticipating it. You know that a humid morning in Venice will produce a warmer, denser haze than a dry winter dawn. You know that shooting toward the horizon at dusk amplifies dispersion. That knowledge changes where you stand, when you press the shutter, and how you frame the world.
How can photographers use atmosphere to enhance storytelling?
Fog simplifies composition by stripping scenes to their core shapes, providing natural layering and soft directional light that creates emotional photographic depth. This is one of the most underused insights in landscape photography. Fog does not obscure your subject. It edits the scene for you, removing distracting backgrounds and leaving only what matters. A lone cypress tree rising from a Tuscan fog bank becomes iconic precisely because the atmosphere has done the compositional work.
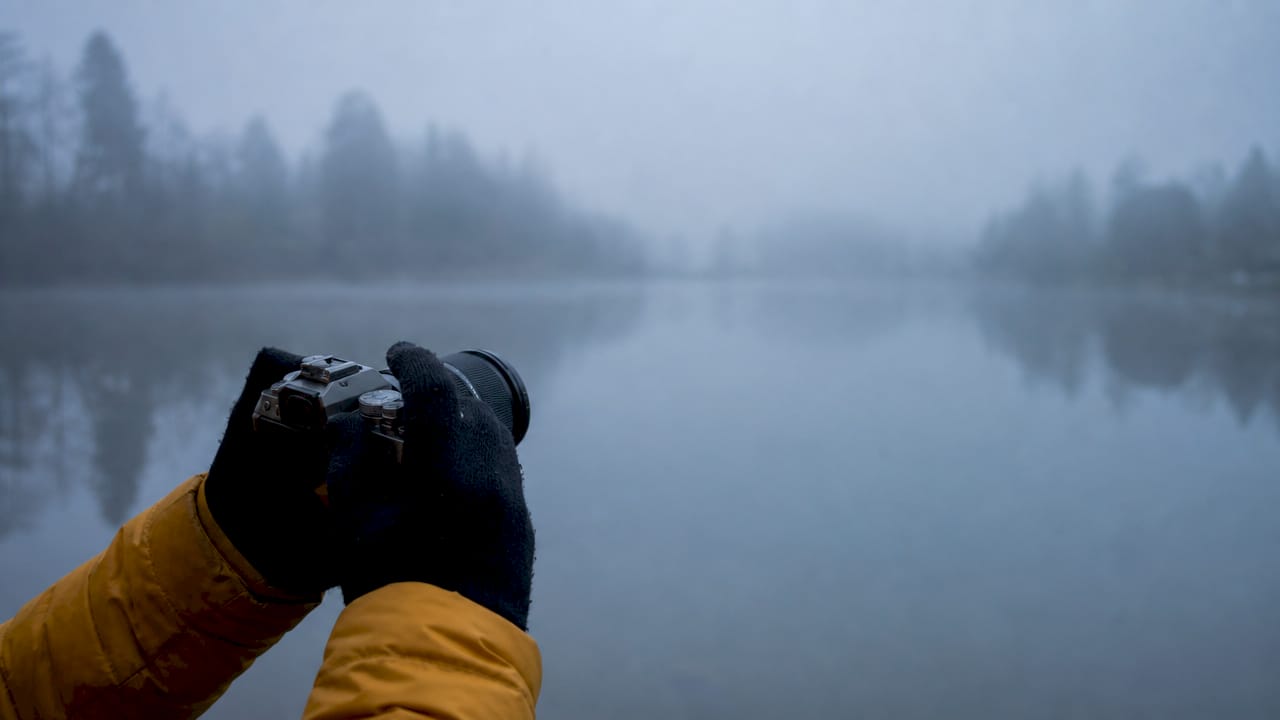
The importance of sky in images cannot be overstated when working with atmosphere. A sky heavy with storm clouds over the Roman Forum carries narrative tension that a clear blue sky simply cannot. The sky is not background. It is context, mood, and story all at once. Choosing how much sky to include, and under what atmospheric conditions, is one of the most consequential compositional decisions you make.
Using atmosphere for image depth also means resisting the urge to correct everything in post-production. Lightroom’s Dehaze slider is a powerful tool, but applying it indiscriminately on fog images removes the very atmospheric mood that makes the image compelling. Dehaze is designed to restore contrast, but in doing so it strips the desired atmospheric recession that gives the image its sense of distance and poetry.
Practical approaches to harnessing atmosphere creatively include:
- Shoot toward the light in misty conditions. Backlit fog glows and separates layers in ways that flat front-lit fog cannot.
- Use a longer focal length to compress atmospheric layers and intensify the sense of depth between planes.
- Arrive before the fog lifts. The first 30 minutes after dawn in a valley like the Val d’Orcia offer a window of atmospheric magic that closes quickly.
- Treat overcast skies as a giant softbox. Diffused light in fog or cloud cover eliminates harsh shadows and renders texture beautifully.
Pro Tip: When photographing Italy’s atmospheric landscapes, select vantage points that maximize the atmospheric path length between you and your background. A high viewpoint looking down into a misty valley will always produce more ethereal color gradients than a flat, eye-level perspective.
What are the technical challenges of photographing atmospheric conditions?
The same atmospheric beauty that makes an image sing can make capturing it technically demanding. Dense fog reduces scene contrast to near zero, and autofocus systems depend on contrast to lock focus. Manual focus using magnified Live View on a high-contrast element is the standard solution when autofocus hunts uselessly in misty conditions. Pre-select your focus point before the fog thickens, lock it, and do not let the camera override your decision.
The technical steps for handling atmospheric conditions reliably are:
- Switch to manual focus in dense fog. Use magnified Live View at 5x or 10x to confirm sharpness on a stable, high-contrast element such as a branch or stone wall.
- Apply positive exposure compensation in bright mist. Camera meters read bright fog as a midtone and underexpose. Add one to two stops of positive compensation to render the mist as luminous white rather than muddy gray.
- Use a lens hood to control flare. Backlit fog creates beautiful glow, but it also invites lens flare. A hood gives you control over when that flare appears.
- Shoot RAW to preserve atmospheric color data. JPEG processing often crushes the subtle tonal gradations that make atmospheric images feel three-dimensional.
- Be cautious with atmospheric dispersion near the horizon. Color fringing on subjects close to the horizon line is a physical artifact of unequal refraction. Stopping down slightly and avoiding extreme horizon-level compositions reduces its impact.
Atmospheric distortion at low elevation angles is a particular challenge for photographers working near coastlines or shooting across open water. The longer the light path through dense, humid air, the more pronounced the color fringing and softness become. This is not a lens problem. It is physics, and no amount of sharpening in Adobe Lightroom or Capture One will fully correct it.
Key takeaways
Atmosphere shapes every image you make outdoors, and understanding it transforms you from a recorder of scenes into a composer of moods.
| Point | Details |
|---|---|
| Atmospheric perspective creates depth | Contrast, saturation, and detail decrease with distance, producing a natural three-dimensional layering effect. |
| Rayleigh scattering drives color | Blue light scatters more than red, making distant objects cool-toned and sunrise or sunset skies warm and golden. |
| Fog is a compositional tool | Fog strips distracting detail and isolates subjects, creating natural layering and emotional simplicity. |
| Avoid over-correcting in post | Using Dehaze aggressively on fog images destroys the atmospheric recession that gives the image its depth and mood. |
| Manual focus is essential in mist | Autofocus fails in low-contrast fog; magnified Live View with manual focus locks sharpness reliably. |
Atmosphere as the soul of the image: a personal reflection
I have photographed Italy in every season and under almost every conceivable sky. And I will tell you honestly: the images I return to most, the ones that still move me years later, were almost never made in perfect light. They were made in the in-between moments. The fog rolling off the Arno at dawn. The smoke-tinged haze over a Sicilian hillside at dusk. The pearl-gray diffusion of a Venice winter morning when the city seems to float between water and sky.
What I have learned is that atmosphere is not a condition you wait out. It is the subject. Most photographers treat fog or haze as a problem to solve, either by waiting for it to clear or by removing it in post-production. That instinct costs them their best images. The atmospheric depth in a scene is the emotional content of the scene. Strip it away and you are left with a technically sharp image that says nothing.
The harder lesson is patience. Atmospheric conditions are unpredictable and brief. I have waited two hours in a cold Tuscan field for a fog layer to catch the first light at exactly the right angle. Sometimes it never comes. But when it does, the image justifies every minute of waiting. You cannot manufacture that quality in post-production. You have to be present for it.
My advice is to stop treating atmosphere as a variable to control and start treating it as a collaborator. Arrive early. Stay late. Let the weather surprise you. The most enchanting images are rarely planned. They are earned by showing up and remaining open to what the light and air decide to do.
— Mino
Discover atmosphere firsthand on an Italian photo tour
Italy offers a living classroom for every atmospheric condition a photographer could dream of. From the silver morning mists of the Val d’Orcia to the golden haze settling over the canals of Venice at dusk, the country is a kaleidoscope of atmospheric moods that shift with every season and hour.

Italyphototour’s photography tours in Italy are designed around exactly these moments. Led by professional photographer Mino Di Vita, each tour places you in the right location at the right time to experience and capture the atmospheric beauty that makes Italian imagery so enduring. Whether you are drawn to the layered haze of Tuscany, the luminous fog of the Venetian lagoon, or the dramatic storm light over Cinque Terre, these experiences teach you to read the atmosphere and respond to it with intention. Explore the 2026 photo tour experiences and find the journey that speaks to your creative vision.
FAQ
What is the role of atmosphere in images?
Atmosphere in images shapes mood, depth, and storytelling by altering contrast, color, and clarity across a scene through physical processes like light scattering and dispersion. It is both a visual phenomenon and a compositional tool that photographers use intentionally to create emotional resonance.
How does atmospheric perspective work in photography?
Atmospheric perspective reduces contrast, saturation, and detail in distant objects, making them appear softer and cooler in color than foreground subjects. This visual recession creates the illusion of three-dimensional depth in a flat image.
Why do sunrise and sunset skies produce warm colors?
Warm colors at sunrise and sunset occur because sunlight travels through a much thicker atmospheric layer at low angles, scattering away blue wavelengths and leaving red and orange to dominate. This is a direct result of Rayleigh scattering and the increased optical path length near the horizon.
How do you focus accurately in fog?
Switch to manual focus and use magnified Live View at 5x or 10x to lock onto a high-contrast element within the scene. Autofocus systems hunt in low-contrast fog conditions and cannot be relied upon for consistent sharpness.
Should you remove haze in post-processing?
Removing haze with tools like Lightroom’s Dehaze slider can destroy the atmospheric recession that gives an image its sense of depth and mood. Preserve natural atmospheric haze unless it is purely an unwanted technical artifact rather than a compositional element.