

TL;DR:
- Mastering light during golden hour is essential for capturing Italy’s iconic landscapes and architecture.
- Composition techniques like the rule of thirds and perspective control greatly enhance photo impact.
- Reducing crowds and using minimalist approaches can create more powerful, timeless images of Italy.
Italy is one of the most photographed countries on earth, yet so many images from its sun-drenched piazzas and rolling Tuscan hills feel curiously flat. Beautiful locations alone do not guarantee stunning photos. The real difference between a forgettable snapshot and a frame-worthy image lies in how you see, plan, and craft each composition before you press the shutter. From the honeyed light of the Dolomites at dawn to the labyrinthine canals of Venice at dusk, Italy rewards photographers who understand light, perspective, and visual storytelling. This guide walks through five proven techniques that will sharpen your eye and transform how you capture every corner of this extraordinary country.
Table of Contents
- Master the golden hour for iconic Italian light
- Leverage the rule of thirds for dynamic compositions
- Control perspective for flawless architecture and landscapes
- Use telephoto compression and layers for storytelling
- Minimize distractions with crowd control and minimalist techniques
- Our perspective: Why composition trumps gear for Italian photo mastery
- Ready to elevate your Italy photography journey?
- Frequently asked questions
Key Takeaways
| Point | Details |
|---|---|
| Shoot at golden hour | Capture Italy’s scenery during early morning or late evening for warm, flattering light. |
| Apply the rule of thirds | Place interesting subjects on thirds lines for more dynamic and memorable images. |
| Control perspective | Use gear or position adjustments to avoid distorted architecture in your travel shots. |
| Use telephoto layers | Compress distances and build depth in landscapes with telephoto lenses and foreground interest. |
| Simplify for impact | Eliminate distractions and embrace minimalism to make your Italian images stand out. |
Master the golden hour for iconic Italian light
With the right timing, light in Italy becomes your creative ally. Few forces in photography are as transformative as the warm, directional glow that arrives in the hour bookending each day. Golden hour, spanning roughly 30 to 60 minutes after sunrise and before sunset, is absolutely essential for Italy photography because the harsh midday Mediterranean sun creates blown highlights and deep, detail-crushing shadows. That brief window of low-angle light, however, turns ochre walls golden, sculpts every texture in terracotta rooftops, and paints lavender hills in tangerine warmth.
The timing varies by season and region. In spring and autumn, the golden window can stretch to a luxurious 90 minutes, giving you more room to explore angles. In the Dolomites, those jagged peaks ignite with an almost supernatural alpenglow, known as enrosadira, as sunlight retreats. Tuscany’s rolling farmland basks in amber gradients that make cypress roads look like paintings. Sicily’s coastal light is more intense, making the earlier edges of golden hour ideal before contrast becomes too sharp.
Here are practical ways to make the most of this light:
- Arrive at your chosen location at least 20 minutes before golden hour begins to set up and compose.
- Scout the previous day during midday, then return at golden hour knowing exactly where to stand.
- In overcast weather, shoot during the same window anyway as diffused clouds act as a natural softbox.
- For Italian landscape tips, position the sun at a 45-degree angle to your subject to enhance texture and dimension.
Pro Tip: Use apps like PhotoPills or The Photographer’s Ephemeris to calculate exact sunrise, sunset, and golden hour times for your specific Italian location. These tools also show the precise direction the sun will travel, allowing you to pre-visualize how light will fall across a scene.
Leverage the rule of thirds for dynamic compositions
After harnessing the power of light, composition structure helps your shots stand out. The rule of thirds is one of the most powerful and accessible frameworks in photography. Imagine your frame divided into nine equal rectangles by two horizontal and two vertical lines. Placing your key subjects at the four intersections of those lines, or along the lines themselves, creates natural tension and visual energy that centered compositions often lack.
In Italy’s Val d’Orcia, for instance, positioning key elements such as lone farmhouses, cypress trees, or the horizon itself along thirds lines and intersections produces dynamic compositions that feel alive. Place the horizon low in the bottom third when the sky is dramatic with clouds or color. Shift it high when the land itself carries the visual weight, as in fields of sunflowers rolling toward a distant hilltop village.
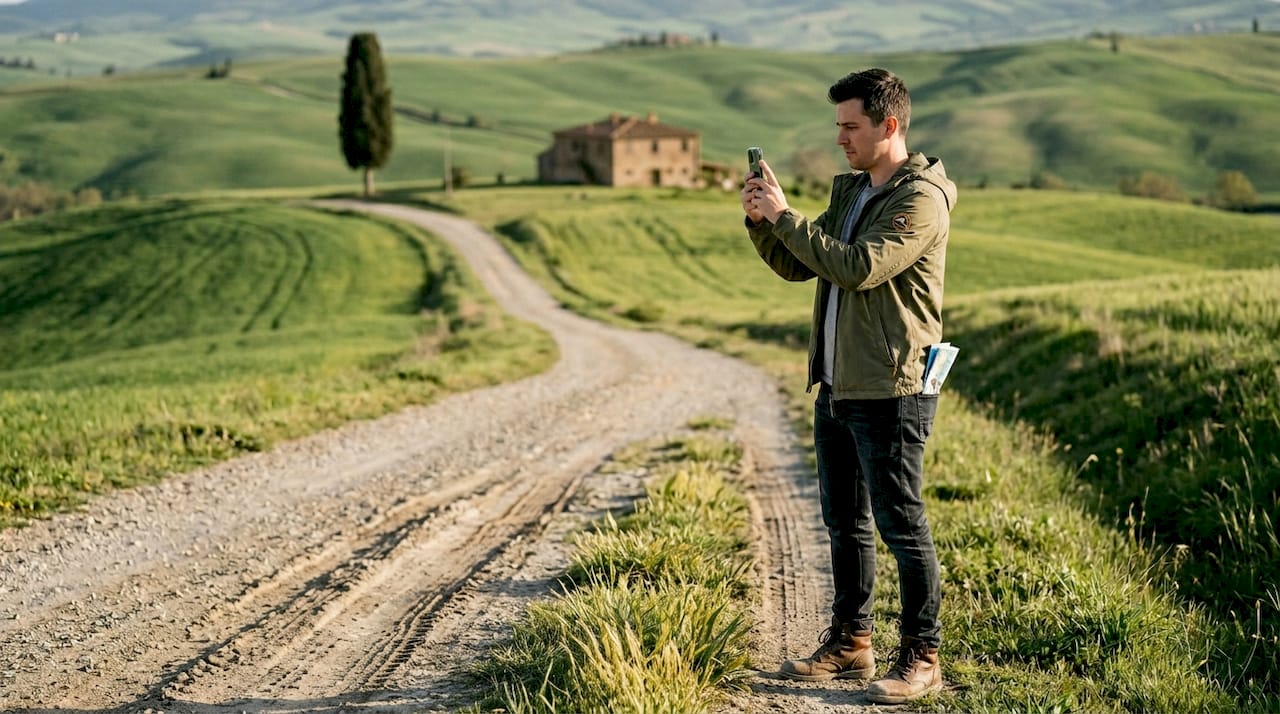
| Element | Centered placement | Rule of thirds placement |
|---|---|---|
| Horizon | Flat, static feel | Sky or land dominates with purpose |
| Cypress road | Leads nowhere visually | Draws the eye through the frame |
| Farmhouse | Anchored but heavy | Breathes within the landscape |
| Landmark tower | Rigid and stiff | Balanced by sky and foreground |
For travel composition in Italy, you can also apply this to landmark composition tips when shooting cathedrals or historic towers.
Pro Tip: Rules exist to be broken wisely. Symmetrical piazzas like Piazza Navona in Rome or Venice’s Grand Canal facades often reward centered, mirror-like compositions that honor their architectural perfection. Read the scene before defaulting to any grid.
Control perspective for flawless architecture and landscapes
With your core compositional grid set, the next step is precise control, especially crucial for Italy’s ornate architecture. One of the most common mistakes photographers make is shooting upward at tall structures, creating converging verticals, where vertical lines lean inward and the building appears to topple backward. This distortion can strip Renaissance palaces, Roman ruins, and Gothic cathedrals of their grandeur.
Several methods help prevent this. Tilt-shift lenses, used by architectural specialists, physically shift the lens plane to keep verticals true. Stepping back farther and keeping your camera perfectly level is a simpler fix that costs nothing. For post-processing, perspective correction for architecture in tools like Lightroom or Capture One can straighten converging verticals in minutes, and it is critical for locations such as Venice, Milan, and Florence.
Here is a step-by-step approach to cleaner architectural shots:
- Set your camera on a tripod and use a spirit level or the built-in electronic horizon.
- Step back as far as physically possible before zooming in slightly rather than shooting wide up close.
- Look for elevated positions such as a hotel window, a bridge, or a nearby rooftop to shoot at mid-height.
- In post-processing, use the Transform panel in Lightroom to auto-correct or manually adjust vertical and horizontal lines.
- Crop deliberately after correction, since perspective fixes often remove edge information.
Pro Tip: Elevated angles are among the most underused tools in Italy photography. A room on the second floor of a guesthouse overlooking Florence’s Arno, or a bridge crossing a Venetian canal, removes foreground clutter and reveals the geometry of the city in a way street level never can. Always look up and around for essentials for Italy shots.
Use telephoto compression and layers for storytelling
Beyond correcting perspective, storytelling relies on optical tricks and visual depth. Telephoto lenses do something almost magical: they compress the apparent distance between objects, stacking layers of landscape into a single, dense, painterly frame. In Tuscany’s Val d’Orcia, 70-400mm lenses compress rolling hills and isolate distant farmhouses against layered backgrounds, making scenes feel intimate and immense at the same time.
Scenarios where telephoto truly shines include:
- Isolating a hilltop village against a mosaic of terraced fields in Umbria.
- Compressing multiple ridgelines of the Dolomites into a single dramatic silhouette.
- Pulling a solitary gondola against the warm-toned facades of the Venetian waterfront.
- Framing a rural masseria in Puglia through a foreground of olive branches.
Layering is the other half of this storytelling equation. Including foreground interest such as wildflowers, ancient trees, or rustic stone walls creates a sense of depth that draws viewers into the frame rather than leaving them on the outside looking in. In the Dolomites, a meadow of alpine blooms in the foreground with jagged peaks behind creates a three-dimensional journey through the image. Roads and canals in Tuscany and Venice serve a similar purpose, acting as natural leading lines.
“The most memorable landscape images do not just show a place. They transport the viewer there by layering near, middle, and far elements into a unified visual story.”
For a complete landscape checklist Italy resource, consider focus stacking when using wide apertures with foreground elements to ensure sharpness from the closest wildflower to the most distant peak.
Minimize distractions with crowd control and minimalist techniques
For an immersive, story-rich photo, sometimes the boldest move is removing distractions. Italy’s most iconic locations can feel crushing with visitors by mid-morning. At the Trevi Fountain, the Rialto Bridge, and the cliffside villages of Cinque Terre, shooting pre-7AM or visiting during winter significantly reduces crowds and returns a sense of stillness to famously busy scenes. Long exposures and elevated vantage points also transform a crowded plaza into an almost ghostly, timeless image.
Strategies worth building into your shooting plan:
- Arrive at iconic sites before sunrise, when most tourists are still sleeping.
- Visit during shoulder seasons such as November or February for dramatically thinner crowds.
- Use a 2-minute or longer exposure with a neutral density filter to blur moving crowds into invisible wisps.
- Seek elevated vantage points above street level where human density thins naturally.
- Explore unique Italy photo spots away from the famous sites where solitude is the norm, not the exception.
Minimalism is an equally powerful tool. In Val d’Orcia, simplifying the frame to a lone tree against an open sky or a single farmhouse resting in mist captures the emotional essence of the Tuscan countryside more powerfully than a cluttered wide shot. In Venice, briccole poles reflected in still lagoon water against a high-key winter sky become austere, meditative compositions full of quiet beauty. For Italy beginner tips, learning to subtract rather than add is often the fastest path to more evocative images.
Pro Tip: If crowds cannot be avoided, make them part of the story intentionally. A blurred river of pedestrians crossing the Ponte Vecchio at slow shutter speed becomes a poetic meditation on time and movement, turning a limitation into a creative asset.
Our perspective: Why composition trumps gear for Italian photo mastery
These technical steps are foundational, but the biggest breakthrough often lies in how you approach learning and shooting. We have seen photographers arrive in Tuscany with the latest mirrorless bodies and an entire bag of prime lenses, yet return home with images that feel hollow. We have also watched complete beginners with entry-level cameras return with photographs that genuinely move people. The difference was never the gear.
Composition is a skill that compounds. Every time you slow down and ask yourself where the light falls, where the eye travels, and what story the frame tells, you are building an intuition that no lens purchase can replicate. Focused practice in the field matters far more than megapixels.
Research supports this: guided tours accelerate learning by 30%, human interactions boost engagement by 40%, and using histograms alone prevents 35% of exposure errors. Structured feedback, real-world critique, and shooting alongside experienced photographers collapses years of solo trial and error into days of genuine progress. Slow down, plan your compositions with intention, and seek environments where your eye is challenged and your instincts are sharpened through photography skills faster.
Ready to elevate your Italy photography journey?
Turning these composition techniques into second nature requires more than reading about them. It requires standing in the field, in real Italian light, with guidance that responds to what you actually see through your viewfinder.
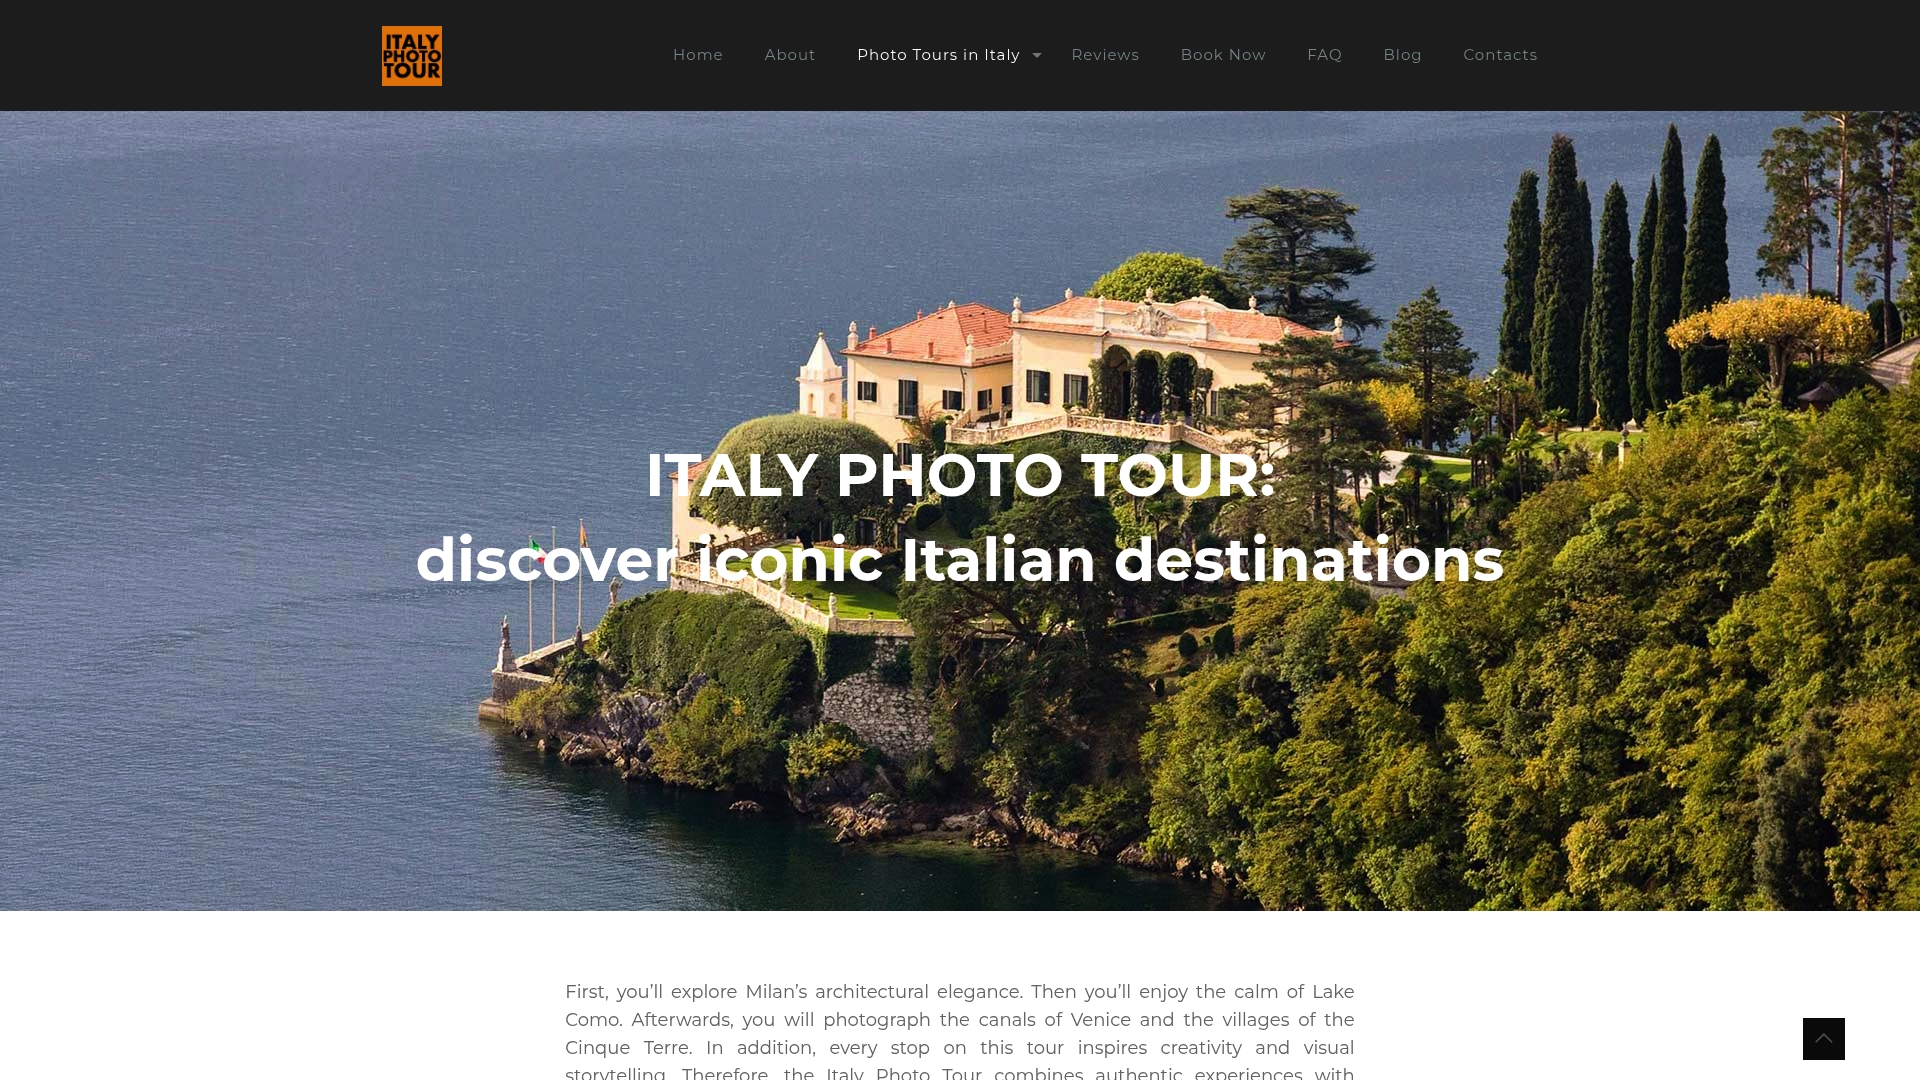
Italy Photo Tour experiences are built precisely for this moment in your growth as a photographer. Led by professional photographer Mino Di Vita, each tour immerses you in locations and lighting conditions that bring every technique in this guide to life. From the terraced villages of Cinque Terre to the golden farmlands of Tuscany, you will shoot, learn, and see Italy in a way that transforms your portfolio. Explore Italian landscape inspiration to begin planning, or visit Italy Photo Tours to discover what awaits your lens.
Frequently asked questions
What is the best time of day to photograph Italian landscapes?
The golden hour, spanning 30 to 60 minutes after sunrise or before sunset, offers the warmest, most directional light and consistently produces the most striking results across all Italian regions.
How can I avoid crowds in popular Italian photo spots?
Shooting pre-7AM or in winter dramatically reduces crowd density, and combining this with long exposures or elevated vantage points helps you capture iconic sites in near-total solitude.
Why use telephoto lenses for Italy landscape photography?
70-400mm lenses compress the rolling hills of Tuscany and the layered peaks of the Dolomites, stacking distant elements into dramatic, painterly compositions that wide-angle lenses simply cannot achieve.
How do I balance bright skies and darker foregrounds in Italy?
Using graduated ND filters or focus stacking in post-processing allows you to retain detail in both a luminous Italian sky and a richly textured foreground in the same frame.