

Photographing Italy’s historic landmarks presents a unique challenge that goes beyond simply pointing your camera at ancient architecture. Every weathered stone, towering cathedral, and sunlit piazza tells a centuries-old story waiting to be captured through your lens. The difference between a forgettable snapshot and a compelling image lies in understanding how to harness lighting, composition, and timing to reveal the soul of these timeless structures. This guide delivers actionable techniques specifically designed for Italy’s diverse landmarks, helping you transform your photography from documentary shots into powerful visual narratives that capture both grandeur and intimate details.
Table of Contents
- Understanding The Essential Criteria For Successful Landmark Photography
- Top Practical Tips To Capture Italy’s Historic Landmarks Effectively
- Comparing Photography Techniques For Different Landmark Types In Italy
- Choosing The Right Gear And Settings For Landmark Photography In Italy
- Discover Immersive Photography Experiences In Italy
Key takeaways
| Point | Details |
|---|---|
| Lighting mastery | Golden hour shooting and understanding natural light patterns dramatically improve landmark photos |
| Composition techniques | Leading lines, framing, and perspective choices enhance storytelling and visual impact |
| Gear optimization | Wide-angle and telephoto lenses paired with proper settings capture both scale and intricate details |
| Cultural context | Including atmospheric elements and human activity adds depth and authenticity to landmark images |
Understanding the essential criteria for successful landmark photography
Before pressing the shutter, you need to evaluate several fundamental elements that separate mediocre landmark photos from extraordinary ones. Mastering natural light transforms how textures, shadows, and architectural details appear in your images. Golden hour provides warm, directional light that wraps around columns and facades, creating dimensional depth that harsh midday sun simply cannot deliver.
Weather and seasonal variations dramatically affect how landmarks present themselves. Overcast skies can provide even, soft illumination perfect for capturing intricate stonework without harsh shadows. Winter light sits lower on the horizon, casting longer shadows that emphasize architectural relief. Spring and fall often deliver clearer skies with less haze, sharpening distant elements in your compositions.
Your equipment choices directly impact what you can capture. Wide-angle lenses reveal the full scope of massive structures, while telephoto options isolate ornamental details and compress perspective. A sturdy tripod becomes essential for low-light situations inside cathedrals or during blue hour exterior shots. Consider these planning factors:
- Research landmark orientation to predict optimal lighting times
- Check local event calendars to anticipate crowd levels
- Scout locations beforehand to identify unique vantage points
- Verify photography restrictions at religious or government sites
- Pack backup batteries and memory cards for extended shooting sessions
Timing your visit strategically allows you to capture serene, uncluttered scenes. Arriving 30 minutes before official opening times often provides precious moments with minimal tourist presence. Late afternoon visits, as day-trippers depart, offer similar advantages with the added benefit of golden hour illumination.
Top practical tips to capture Italy’s historic landmarks effectively
Applying specific techniques in the field elevates your landmark photography from adequate to exceptional. These methods work across Italy’s diverse architectural heritage, from Roman ruins to Renaissance masterpieces.
Utilize leading lines strategically. Cobblestone paths, colonnades, and bridge railings naturally guide viewers’ eyes toward your main subject. Position yourself to align these elements with your landmark’s focal point.
Frame within frames. Archways, doorways, and windows create natural borders that add depth and context. This technique works brilliantly in Italian courtyards and cloisters.
Incorporate human elements thoughtfully. A single figure gazing at a monument provides scale and emotional connection. Locals going about daily routines near historic urban sites inject authenticity and life into compositions.
Experiment with perspective dramatically. Shoot from ground level looking upward to emphasize towering structures. Find elevated viewpoints like nearby hills or rooftop terraces for comprehensive overviews that reveal spatial relationships.
Leverage directional light intentionally. Side lighting at dawn or dusk reveals texture in weathered stone and creates dramatic shadow play across facades. Backlighting can transform ordinary scenes into silhouettes with atmospheric glow.
Capture reflections creatively. Rain-slicked piazzas, fountain pools, and canal waters offer mirror images that add symmetry and visual interest to your compositions.
Include contextual details. Street lamps, cafe tables, or market stalls in your foreground establish sense of place and contemporary Italian life alongside ancient architecture.
Pro Tip: Long exposures between 10 and 30 seconds blur moving tourists into ghostly wisps or remove them entirely, creating timeless images that emphasize the landmark’s enduring presence. Use a neutral density filter during daylight hours to achieve slower shutter speeds without overexposure.
Comparing photography techniques for different landmark types in Italy
Italy’s architectural diversity demands tailored approaches based on structure type and setting. Understanding these distinctions helps you prepare appropriate gear and techniques before arriving at each location.
| Landmark Type | Best Techniques | Optimal Timing | Key Considerations |
|---|---|---|---|
| Ancient Ruins | Side lighting for texture, macro details of stonework | Late afternoon for warm tones | Emphasize weathering and age through close-ups |
| Cathedrals | Vertical framing, stained glass interior shots | Morning for exterior, midday for interior light | Balance exterior grandeur with interior details |
| Piazzas | Wide angles with human activity, elevated views | Early morning or evening | Capture social atmosphere and spatial relationships |
| Bridges | Dawn/dusk reflections, silhouettes | Blue hour for best water reflections | Include both structure and environmental context |
Ruins require special attention to textural elements that convey their ancient heritage. Raking side light reveals every crack, lichen patch, and weathered surface. Get close with a macro lens to capture details that tell stories of centuries past. The varied approaches to photographing Italian landmarks demonstrate how technique must adapt to subject matter.
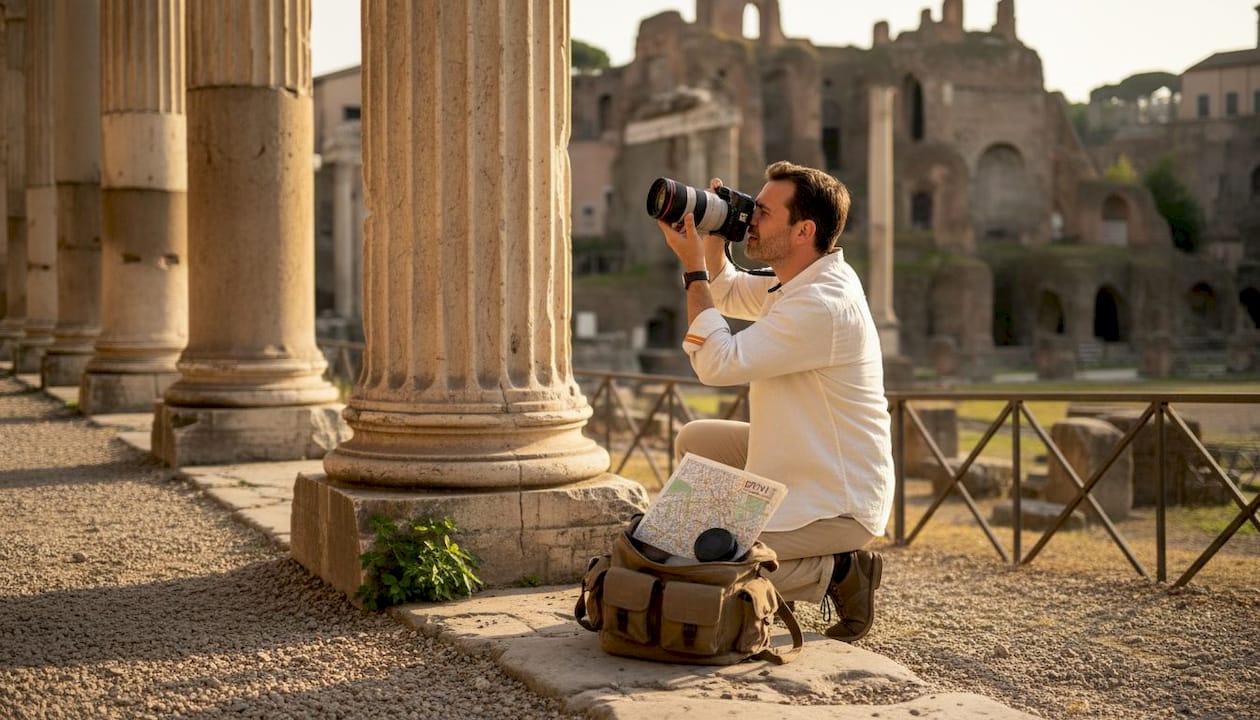
Cathedrals present dual challenges of massive exterior scale and intricate interior spaces. Outside, step back far enough to include full facades without severe distortion. Inside, respect the sacred atmosphere while capturing how light filters through stained glass. High ISO settings become necessary, but modern cameras handle this remarkably well.
Piazzas thrive on energy and movement. Wide-angle lenses capture the expanse while including surrounding architecture that defines the space. Wait for moments when human activity creates visual interest without cluttering your composition. A cafe table in the foreground adds depth and invites viewers into the scene.
Bridges offer spectacular opportunities during transitional light periods. Position yourself to capture both the structure and its reflection in calm water below. Silhouettes against colorful skies create dramatic impact. Consider these quick adaptation tips:
- Adjust white balance manually to enhance warm or cool tones
- Use spot metering on your main subject to prevent underexposure
- Bracket exposures in high-contrast situations for HDR options
- Switch to manual focus in low light for precision
Choosing the right gear and settings for landmark photography in Italy
Technical preparation ensures you can execute creative vision without equipment limitations. Your lens selection fundamentally shapes what stories you can tell through your images.
Wide-angle lenses between 16mm and 35mm capture sweeping architectural vistas and work brilliantly in confined spaces like narrow medieval streets. They exaggerate perspective, making foreground elements prominent while including expansive backgrounds. Telephoto lenses from 70mm to 200mm compress distance, isolating ornamental details like carved capitals or distant bell towers. They also help you maintain respectful distance in crowded tourist areas.
Aperture priority mode gives you creative control over depth of field while the camera handles shutter speed. Use f/8 to f/11 for maximum sharpness across architectural subjects. Open up to f/2.8 or f/4 when isolating details or shooting in dim interiors. Keep ISO as low as possible, typically 100 to 400, to minimize noise and maximize image quality. Raise ISO only when necessary to maintain sharp handheld shots, understanding that proper workflow techniques can manage moderate noise in post-processing.
A tripod transforms your capabilities in challenging lighting. It enables long exposures that smooth water, blur crowds, and gather sufficient light in dark interiors. Carbon fiber models balance stability with portability during extended walking tours. Remote shutter releases or your camera’s self-timer eliminate vibration from pressing the shutter button.
Consider these essential gear recommendations:
- Circular polarizing filter to reduce reflections and enhance sky contrast
- Lens cleaning cloth for frequent maintenance in dusty environments
- Extra batteries, as cold weather and long exposures drain power quickly
- Weather-sealed camera body if shooting in variable conditions
- Comfortable camera strap for all-day carrying
Pro Tip: Enable your camera’s electronic level to ensure horizons stay straight, especially critical when photographing facades and waterfront scenes where tilted angles appear immediately obvious and unprofessional.
Discover immersive photography experiences in Italy
Theory and tips provide foundation, but nothing accelerates your growth like hands-on practice with expert guidance in the field. Italy Photo Tour offers specialized photography tours designed specifically for photographers eager to refine their landmark photography skills while exploring Italy’s most photogenic locations. Led by professional photographer Mino Di Vita, these experiences go beyond typical tourist routes to reveal hidden perspectives and optimal shooting conditions at iconic sites.
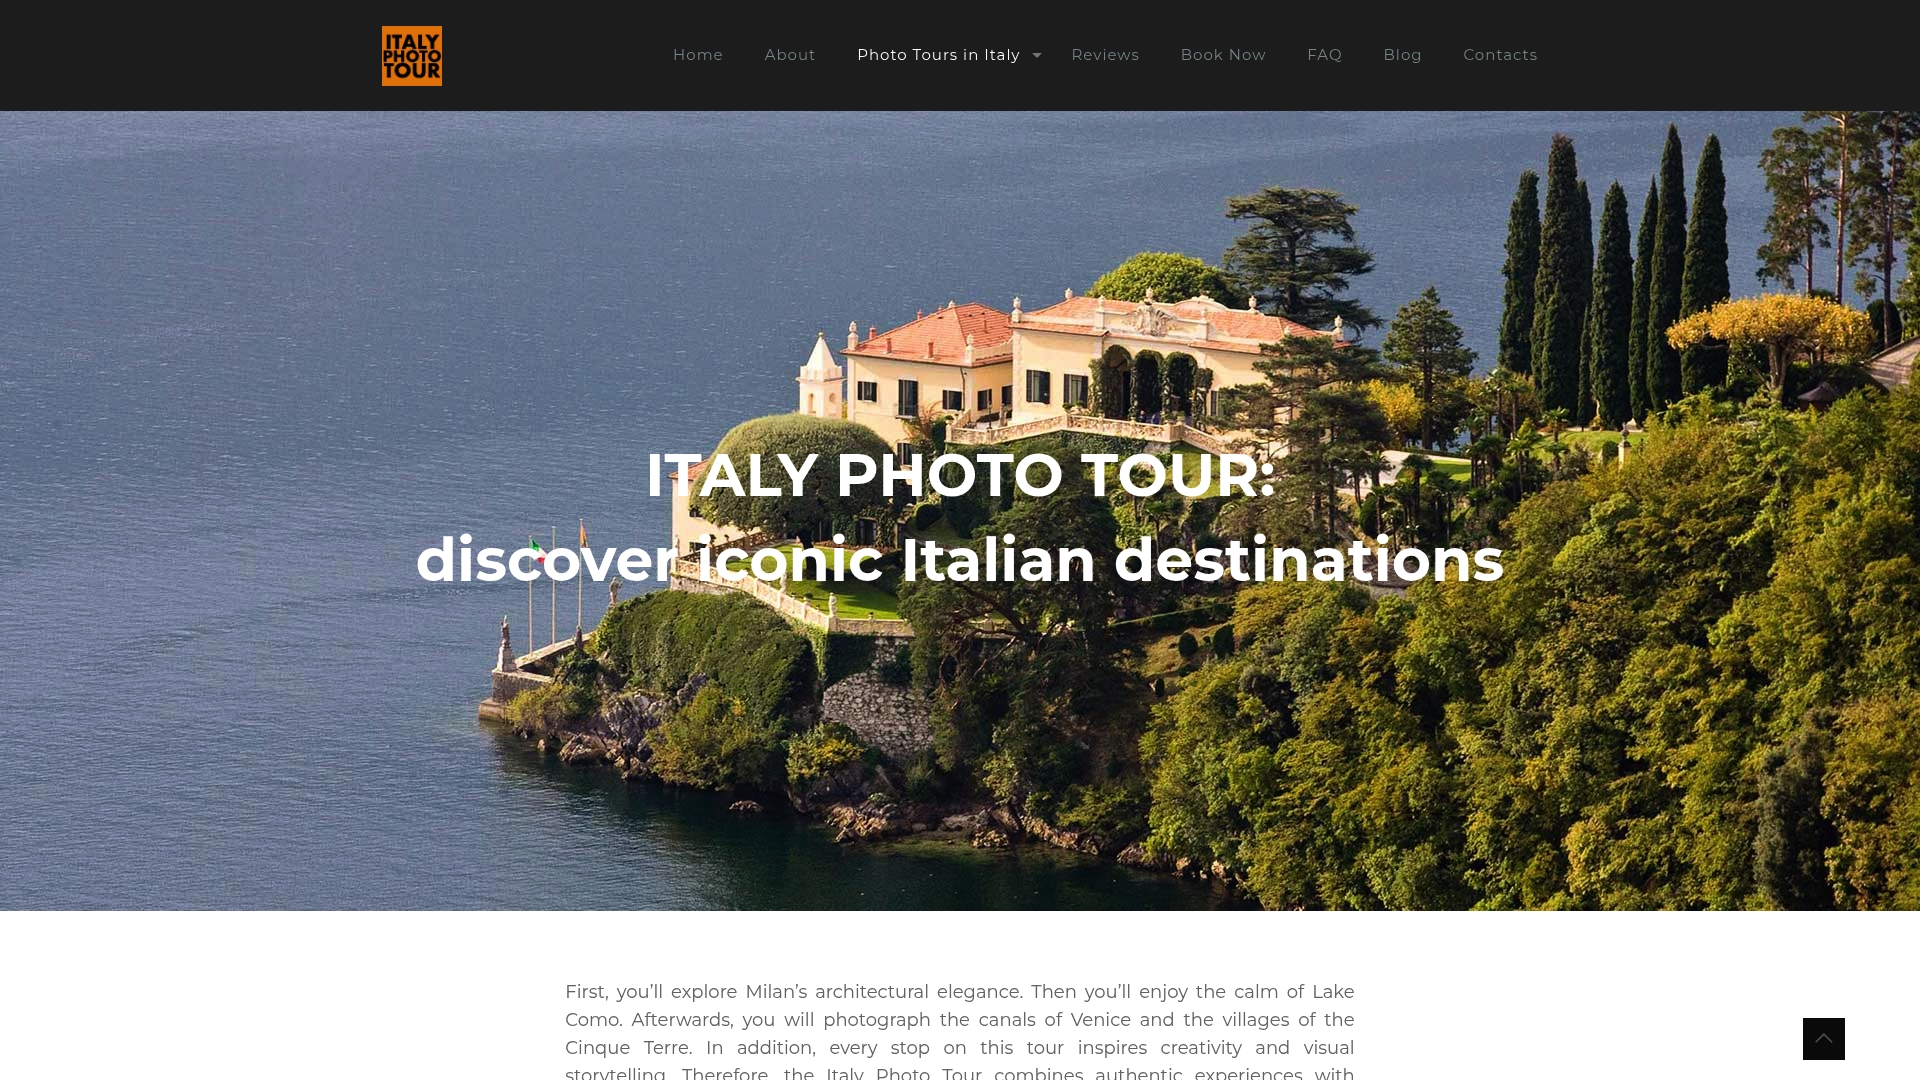
You’ll receive personalized instruction on composition, lighting techniques, and storytelling approaches tailored to your skill level and creative goals. Small group sizes ensure individual attention as you practice the techniques covered in this guide at world-renowned landmarks. Discover what we do and how our immersive approach helps you return home with a portfolio of striking images and elevated photography skills that serve you long after your Italian journey ends.
FAQ
What is the best time of day to photograph Italy’s historic landmarks?
Golden hour, occurring during the first hour after sunrise and the last hour before sunset, consistently delivers the most flattering light for landmark photography. The low sun angle creates long shadows that emphasize architectural texture and three-dimensional form. Warm color temperatures add emotional resonance that harsh midday light cannot match.
How can I avoid crowds in my landmark photos?
Arrive at popular landmarks 30 to 45 minutes before official opening times when tourist numbers remain minimal. Alternatively, visit during off-peak seasons like November through February, excluding holidays. Long exposures between 15 and 30 seconds blur moving people into transparent wisps or remove them entirely from your frame.
What are recommended lenses for capturing architectural details?
Wide-angle lenses from 16mm to 35mm excel at capturing full structures and work well in confined urban spaces. Telephoto lenses between 70mm and 200mm isolate ornamental details like carved stonework, statuary, and decorative elements. Macro lenses reveal intricate textures in weathered surfaces, though a standard zoom with close-focusing capability often suffices for most landmark photography needs.