

Capturing Italy’s dramatic coastlines, rolling Tuscan hills, and historic architecture requires more than just showing up with a camera. Amateur photographers often struggle to know what gear to pack, which composition techniques to apply, and how to time their shots for maximum impact. This checklist approach cuts through the confusion by breaking down the essential equipment, creative methods, and practical timing strategies you need to elevate your Italy landscape photography from snapshots to compelling visual stories that showcase the country’s natural beauty.
Table of Contents
- Essential Gear For Landscape Photography In Italy
- Mastering Composition: Rules And Creative Techniques
- Timing And Lighting: Capturing Italy’s Natural Beauty
- Post-Processing And Practice For Lasting Improvement
- Comparison Of Key Landscape Photography Tools And Techniques
- Explore Italy With Expert Photography Tours
- Frequently Asked Questions About Landscape Photography Checklists
Key takeaways
| Point | Details |
|---|---|
| Gear essentials | Wide-angle lenses, sturdy tripods, and polarizing filters form the foundation of quality landscape photography in Italy. |
| Composition matters | Applying the rule of thirds, leading lines, and natural frames transforms ordinary scenes into engaging photographs. |
| Golden hour advantage | Shooting during sunrise and sunset provides soft, dramatic light that enhances colors and textures across Italian landscapes. |
| Subtle editing wins | Post-processing with restraint maintains the natural beauty of Italy while improving exposure and contrast. |
| Practice builds skill | Regular shooting sessions and planned photography projects accelerate your learning curve and creative confidence. |
Essential gear for landscape photography in Italy
Your camera bag determines what you can achieve in the field. Start with a camera body that handles outdoor conditions well, whether that’s a mirrorless or DSLR system. The body matters less than the glass you put on it. Wide-angle lenses (14-24mm) capture vast scenes and depth, making them perfect for sweeping Tuscan valleys or coastal panoramas. A telephoto lens (70-200mm) adds versatility by isolating distant architectural details or compressing perspective in layered landscapes.
Tripods are essential for long exposures and precise framing, especially when shooting in low light conditions common during golden hours. Choose one that balances stability with portability, since you’ll be carrying it through cobblestone streets and hiking trails. Carbon fiber models reduce weight without sacrificing strength. Filters like polarizing and ND filters manage light effectively, with polarizers cutting glare from water and sky while ND filters enable longer exposures that smooth out waves or create silky waterfalls.
Don’t overlook practical accessories. Extra batteries drain faster in cold morning shoots. Memory cards should have enough capacity for RAW files. A lens cleaning kit protects against dust and sea spray. Following an italy photography checklist steps approach ensures you pack systematically and avoid missing critical items.
Pro Tip: Start with the gear you own and upgrade one piece at a time based on what limits your creative vision most. Many stunning Italy photos come from mid-range equipment paired with strong composition skills.
Here’s your core gear checklist:
- Camera body with weather sealing
- Wide-angle lens for landscapes
- Telephoto lens for compression effects
- Sturdy tripod with ball head
- Polarizing filter to manage reflections
- ND filter for long exposures
- Extra batteries and memory cards
- Lens cleaning supplies
Mastering composition: rules and creative techniques
Technical gear means nothing without strong compositional awareness. The rule of thirds first mentioned in 1797 remains relevant because moving subjects off-center creates visual tension and interest. Imagine your frame divided into nine equal sections by two horizontal and two vertical lines. Place key elements like horizons, buildings, or focal points along these lines or at their intersections rather than dead center.
Leading lines pull viewers into your image by creating a visual path from foreground to background. Italian landscapes offer natural leading lines everywhere: vineyard rows, winding roads, stone walls, and river courses. Position yourself so these elements guide the eye toward your main subject. Natural frames add depth by using foreground elements like archways, tree branches, or doorways to surround and emphasize the scene beyond.
Foreground interest prevents flat, boring landscapes by giving viewers something engaging in the near field. A weathered fence post, wildflowers, or textured rocks anchor the composition and create depth through layers. Mastering composition significantly improves landscape photography quality more than any equipment upgrade ever could.
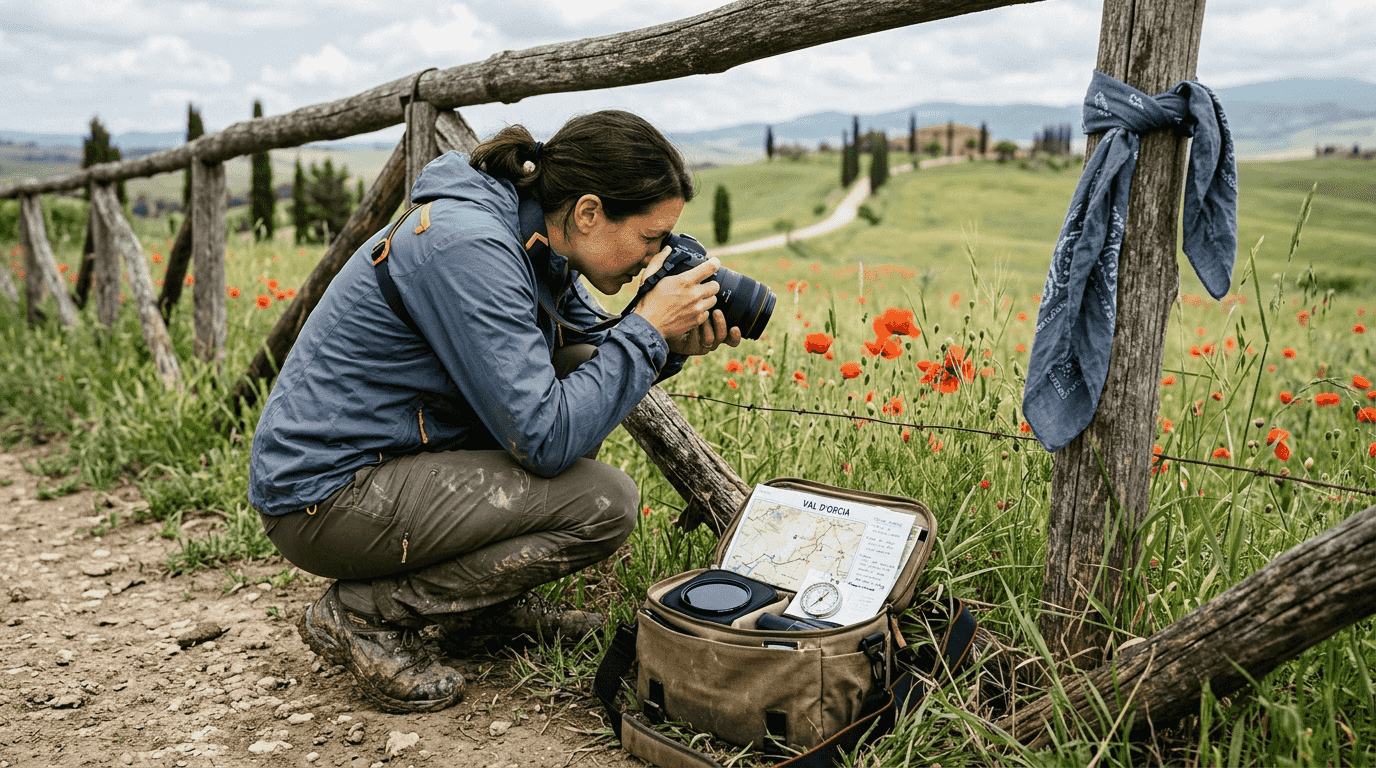
Experiment with perspective by shooting from different heights and angles. Get low to emphasize foreground drama. Climb higher for sweeping overviews. Move laterally to change how elements relate to each other. The composition techniques italy photos guide offers location-specific applications of these principles.
Pro Tip: Use your camera’s grid overlay to visualize the rule of thirds in real time, making it easier to position elements precisely while composing your shot.
Key composition techniques to practice:
- Rule of thirds for balanced placement
- Leading lines to create depth
- Natural frames for context
- Foreground interest for layering
- Varied perspectives for uniqueness
- Negative space for emphasis
Timing and lighting: capturing Italy’s natural beauty
Light quality separates mediocre landscape photos from exceptional ones. Golden hours provide soft, dramatic light that enhances landscape photos by casting long shadows and painting scenes in warm, saturated colors. In Italy, this means waking before sunrise to catch the first light hitting Tuscan hillsides or staying out past sunset as pink hues fade over the Amalfi Coast.
Midday sun creates harsh shadows and blown highlights that flatten landscapes and wash out colors. Save these hours for scouting locations, planning compositions, or taking breaks. Overcast days offer their own advantages by providing even, diffused light perfect for capturing details in forests or architectural elements without extreme contrast.
Weather adds mood and drama to landscapes. Moody skies with scattered clouds create dynamic backdrops and interesting light patterns as sun breaks through. Morning mist in valleys adds mystery and depth. Post-storm conditions often deliver the most spectacular light as clearing skies combine with lingering clouds. The landscape photography tips italy resource covers seasonal lighting patterns across different regions.
Scouting locations beforehand lets you anticipate where light will fall and plan your positioning. Use apps to track sun and moon positions. Arrive early to set up and adjust as conditions change. Patience pays off when that perfect moment of light transforms an ordinary scene into something extraordinary.
Optimal shooting times:
- 30 minutes before sunrise through first hour after
- Last hour before sunset through 30 minutes after
- Overcast days for even lighting
- Post-storm clearing for dramatic skies
- Blue hour for twilight cityscapes
Post-processing and practice for lasting improvement
Capturing the image is only half the creative process. Post-processing with restraint enhances images without creating an artificial look that betrays the natural beauty of Italian landscapes. Start by adjusting exposure to recover shadow detail and tame highlights. Fine-tune contrast to add punch without crushing blacks or blowing whites. Color correction brings saturation and vibrancy closer to what your eye saw while maintaining believability.
Avoid heavy-handed filters or presets that impose a generic look on your unique images. Each landscape has its own character requiring individual treatment. Learn to use adjustment layers and masks for localized corrections rather than global changes that affect the entire frame. Subtle dodging and burning directs attention by lightening or darkening specific areas.
Regular practice and photography projects lead to skill improvement faster than sporadic shooting. Set specific goals like capturing one location through different seasons or documenting a single subject from multiple perspectives. Review your work critically by asking what works and what could improve. Study images you admire to understand the techniques behind them.
Develop a consistent workflow that becomes second nature. Import, cull, edit, and export using the same sequence each time. This efficiency frees mental energy for creative decisions rather than technical fumbling. The italy photo tour checklist essentials includes workflow tips for managing images during travel.
Pro Tip: Create before and after comparisons of your edits to ensure you’re enhancing rather than overprocessing. If the edited version looks dramatically different from the original, you’ve likely gone too far.
Post-processing workflow steps:
- Import RAW files and backup immediately
- Cull ruthlessly, keeping only strong candidates
- Adjust exposure and white balance first
- Fine-tune contrast and clarity
- Enhance colors subtly and naturally
- Apply localized adjustments as needed
- Sharpen appropriately for output size
- Export with proper file naming
Comparison of key landscape photography tools and techniques
Understanding how different gear and approaches compare helps you prioritize investments and practice time. This side-by-side view clarifies the strengths and trade-offs of essential landscape photography elements for shooting in Italy.
| Element | Option A | Option B | Best For |
|---|---|---|---|
| Lens choice | Wide-angle 14-24mm: captures expansive scenes, emphasizes foreground | Telephoto 70-200mm: compresses perspective, isolates details | Wide for sweeping vistas, telephoto for layered mountains |
| Filter type | Polarizing: reduces glare, enhances sky contrast | ND filter: enables long exposures, smooths water | Polarizer for midday clarity, ND for creative motion blur |
| Tripod material | Carbon fiber: lightweight, expensive, stable | Aluminum: heavier, affordable, durable | Carbon for hiking, aluminum for vehicle-based shoots |
| Shooting time | Golden hour: soft warm light, long shadows | Blue hour: cool twilight tones, city lights | Golden for natural landscapes, blue for urban scenes |
| Composition rule | Rule of thirds: balanced, accessible | Leading lines: dynamic depth, guides eye | Thirds for static scenes, lines for pathways and roads |
| Processing style | Subtle enhancement: natural look, maintains realism | Creative interpretation: artistic vision, stylized | Subtle for documentary feel, creative for personal projects |
This comparison framework from essentials checklist italy photography helps match tools and techniques to your specific shooting situations and creative goals. No single approach works universally, so adapt based on conditions and desired outcomes.
Explore Italy with expert photography tours
You’ve built your gear list, studied composition principles, and planned your timing strategy. Now take your Italy landscape photography to the next level by joining guided experiences designed specifically for photographers. Photography tours italy led by professional photographer Mino Di Vita provide access to iconic locations at optimal times while offering real-time feedback on your technique and creative decisions.
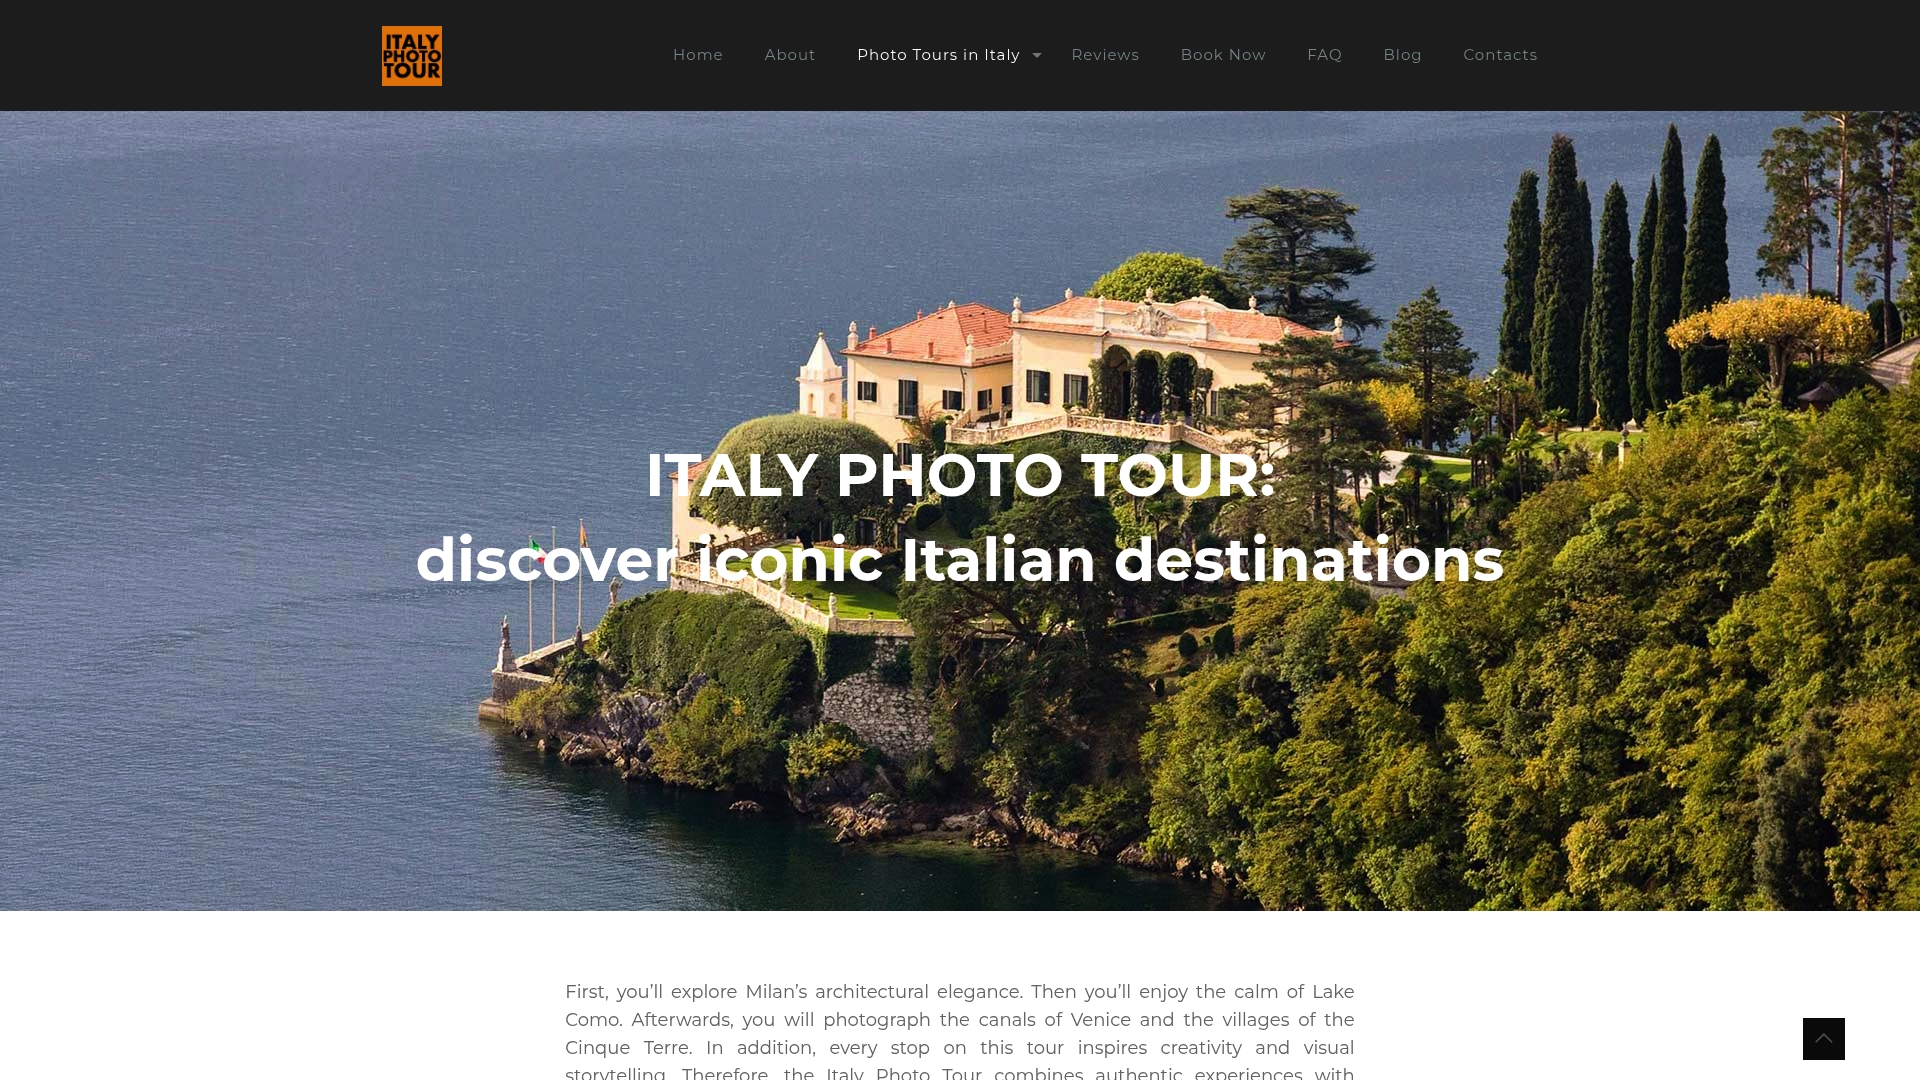
These specialized tours go beyond typical tourist itineraries by focusing on light, atmosphere, and storytelling rather than simply checking off landmarks. You’ll discover hidden viewpoints, learn to read changing conditions, and develop your artistic vision alongside fellow photography enthusiasts. Explore italy photo tour offerings to find experiences matching your skill level and creative interests across Tuscany, Venice, Cinque Terre, and beyond.
Frequently asked questions about landscape photography checklists
What is the most important item on a landscape photography checklist?
A sturdy tripod ranks as the single most critical item because it enables sharp images in low light, allows precise composition, and opens creative possibilities like long exposures. While lenses matter greatly, a tripod maximizes the potential of whatever glass you own by eliminating camera shake and supporting careful framing.
How do I choose the best time to shoot landscapes in Italy?
Focus on the golden hours within 30 minutes of sunrise and sunset when soft, angled light creates depth and warmth across Italian landscapes. Research your specific location’s sunrise and sunset times, then arrive 30 minutes early to set up and adjust as light changes rapidly during these brief windows.
Can I use a smartphone for Italy landscape photography?
Modern smartphones capture impressive landscape photos when you apply solid composition principles and shoot during optimal lighting conditions. Their limitations appear in low light performance, zoom capabilities, and RAW file flexibility, but for sharing on social media or creating memories, smartphones work well as secondary or backup cameras.
How important is composition for amateur photographers?
Composition matters more than expensive gear because strong compositional skills transform any camera into a tool for compelling images. Amateur photographers see the fastest improvement by studying and practicing composition techniques like the rule of thirds, leading lines, and foreground interest rather than upgrading equipment.
What post-processing software is recommended?
Adobe Lightroom offers the best balance of powerful editing tools and user-friendly interface for landscape photographers at all skill levels. Its non-destructive workflow, organizational features, and precise adjustment controls make it the industry standard, though free alternatives like Darktable or Capture One provide capable options for budget-conscious photographers.